Hallway
This room contains solutions for the following systems (notice that on phones, the table might only be displayed in landscape mode):
| System Type | Components |
|---|---|
| Lighting |
|
| Climate Control |
|
| Home Entertainment | None |
| Security and Alarm |
|
| Pet Care | None |
| Control and Automation | None |
Description of the solutions in this room
The lighting solutions in the hallway is first and foremost consists of two ceiling lamps, see picture below. Here, the old bulbs were simply replaced with a Philips Hue E27 bulb each.
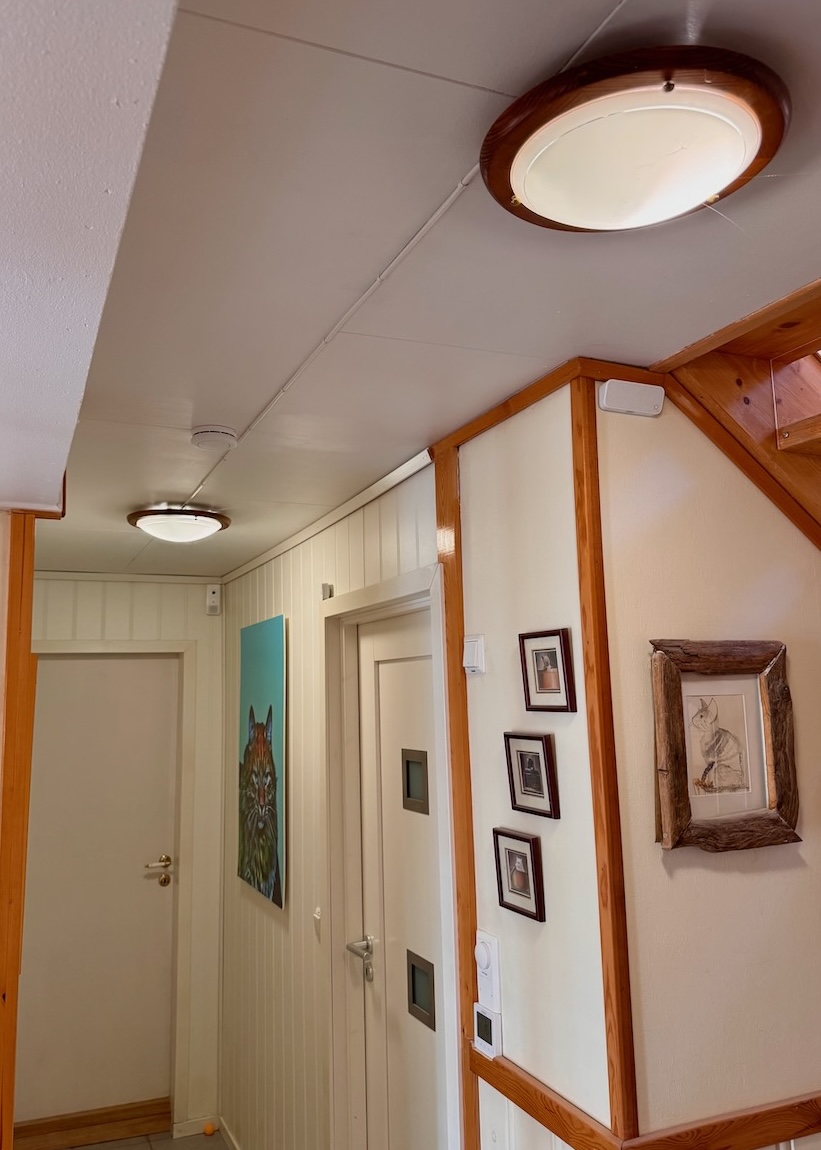
Furthermore, there is a wall lamp, where it was also easy to change to a smart bulb, a Philips Hue E14 smart bulb, see picture below. These lights are controlled by two Philips Hue motion sensors, one turned toward the stairs descending into the hallway and one facing the bedroom whose door opens into the other end of the hallway (when motion is detected, also the ceiling light in the outer hallway is turned on).
Wall lamp with smart bulb, the Hue motion sensor, in this room placed on a picture frame and turned toward the stairs leading down to the hallway and the Heatmiser Thermostat
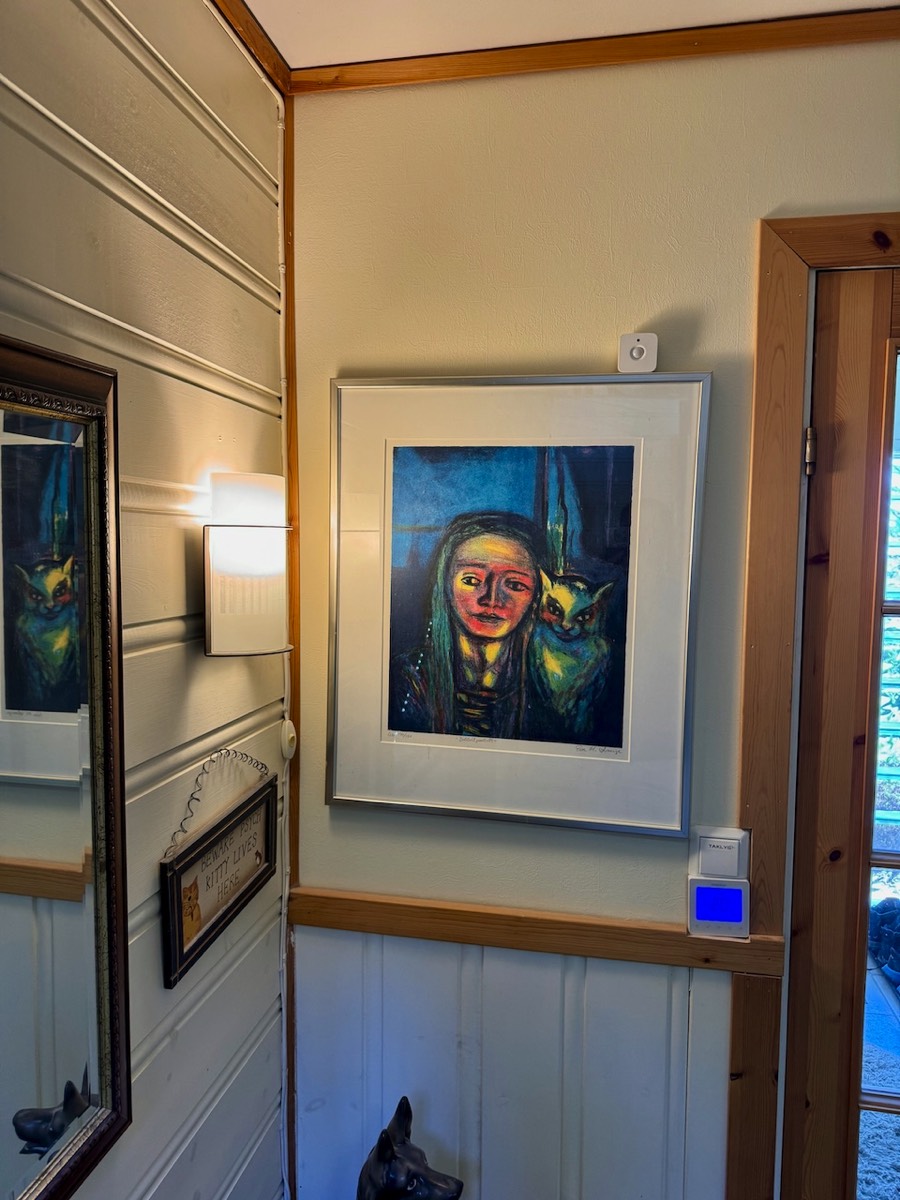
Then also this room had the challenge that using the existing wall switch to turn off the ceiling lights would make them unavailable for digital control, which would occasionally happen with guests in the house. As for many other rooms, I have therefore worked to replace the old wall switches with smart ones, which can both be used the “old-fashioned” way on the wall and be controlled from an app. The challenge here, as the picture above shows, is that the Heatmiser thermostat takes up a lot of space in the double frame. That means the type of smart switch used elsewhere in the house, from Aqara, would not be suitable here, it simply would not fit. Unless it was installed in an external wall box a little higher up, which would not be very elegant, as the switch would stick out much more than the thermostat. But I was lucky and got hold of a different type of smart switch, Frontier Aura Bluetooth switch, which fit and worked quite well. However, it had a tendency to turn off on its own accord, so it was removed again.
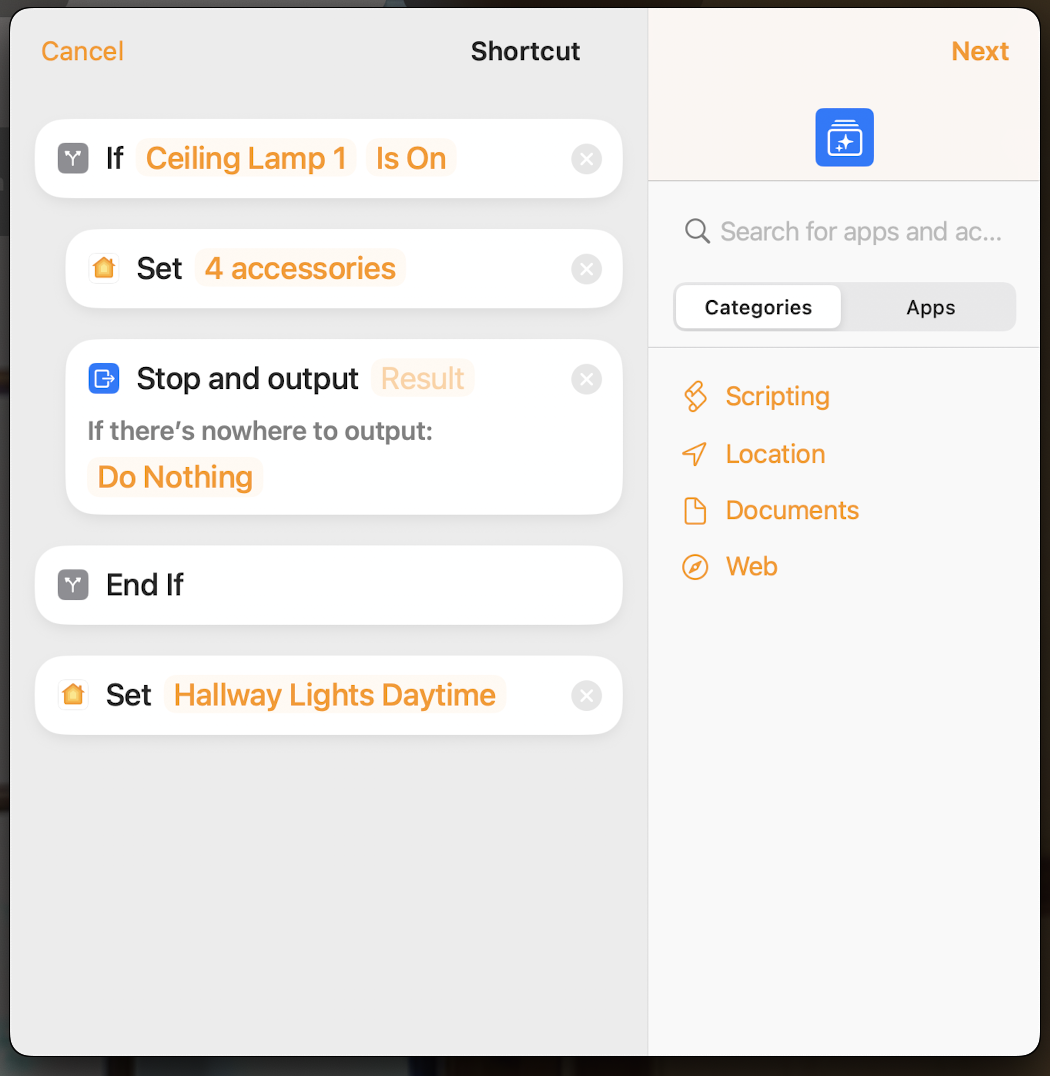
It was replaced by a smart relay switch installed behind the wall switch shown in the picture above (the official name is Philips Hue wall switch module). This is a rather smart and special solution that I was not really aware of existed: The light(s) connected to a traditional wall switch are disconnected from the switch and connected directly to the power lead in the wall box (with an attached Wago) so that they have permanent power (this means it is no longer possible to turn off the power to these, but this doesn’t really matter). The smart relay is then placed behind the wall switch and connected to the terminals there (using attached wires). Now the traditional wall switch works as a (battery-powered) smart, wireless switch, where the relay registers when the wall switch is operated. Per definition, this relay is best suited for controlling Hue products, since the Hue app allows programming different actions depending on whether the wall switch is turned on or off. It can, however, also be set up in Apple Home, but here the switch appears with only one single press action, so it is impossible to distinguish between the switch being turned on or off. This can easily be circumvented, though, by creating a Shortcut as shown below. This is a simple routine that first checks whether the light is turned on when the switch is pressed (in this case one of the two ceiling lights), and if so turns off the lights in the hallway and outer hallway. If the light is not already on, the scene “Hallway Lights Daytime”, spanning the lights in the hallway and other hallway.
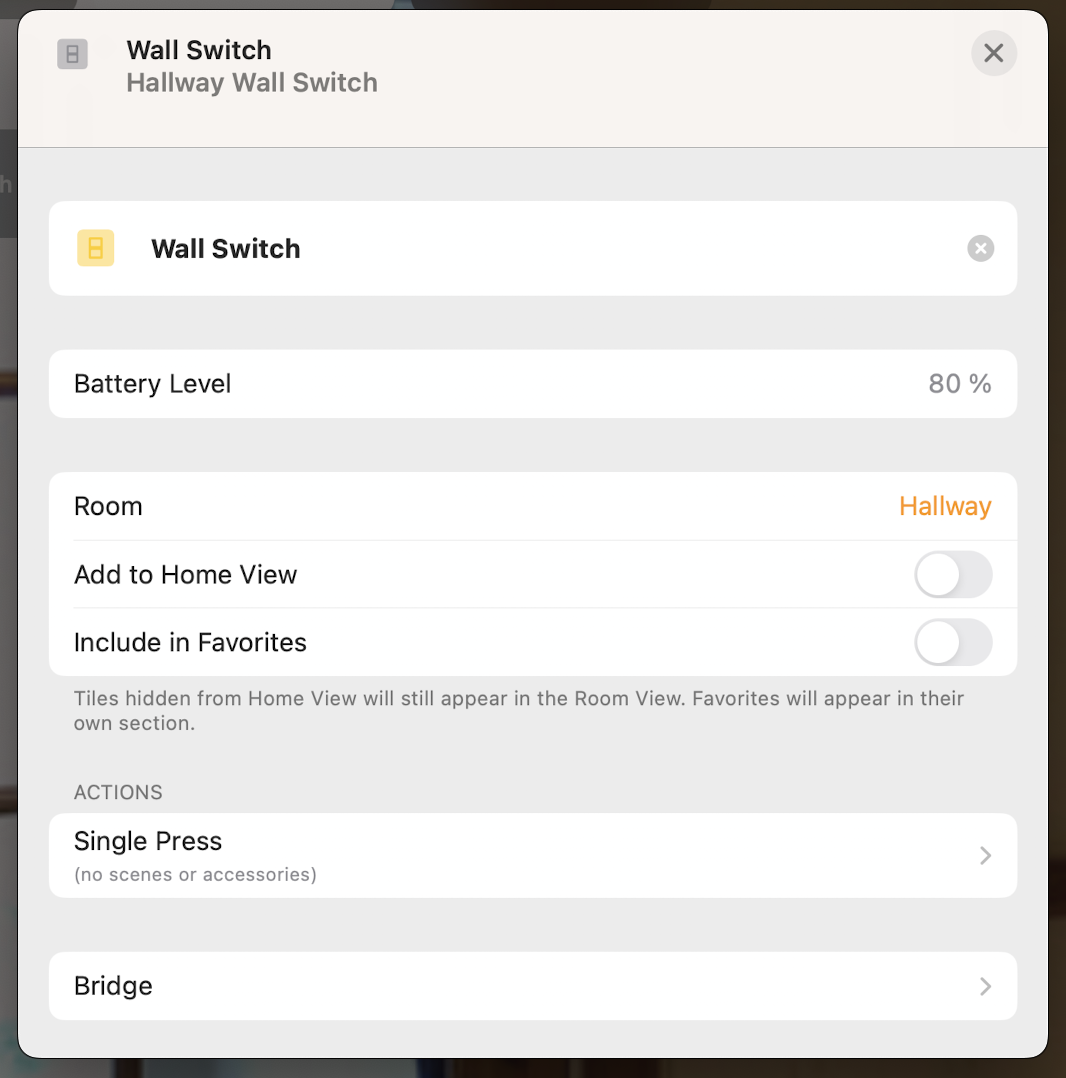
Left, in Apple Home it is only possible to program single presses for the switch/relay, right, Shortcut that circumvents this limitation
The control of the lights is somewhat more advanced than simply having them turn on at motion in the room:
- First, the ceiling lights and the wall lamp here in the hallway are linked to the ceiling lamp in the outer hallway, but defining Apple Home scenes than include all these lights
- Further, there are several triggers that turn on the lights; the motion sensor here in the hallway and a motion sensor as well as a door sensor in the outer hallway
- And depending on which sensor/time of the day it is, different actions are taken:
At motion detected in the hallway and the wall lamp in the library is on (which is one of the lights that are always turned on at 6:30 in the morning with the “Good Morning” scenen and off again when we turn in with the “Good Night” scenen), the scene “Hallway Lights Daytime” is activated, which turns on these described lights in the hallway and outer hallway (and off again after 15 minutes), see the programming in the screenshot below.
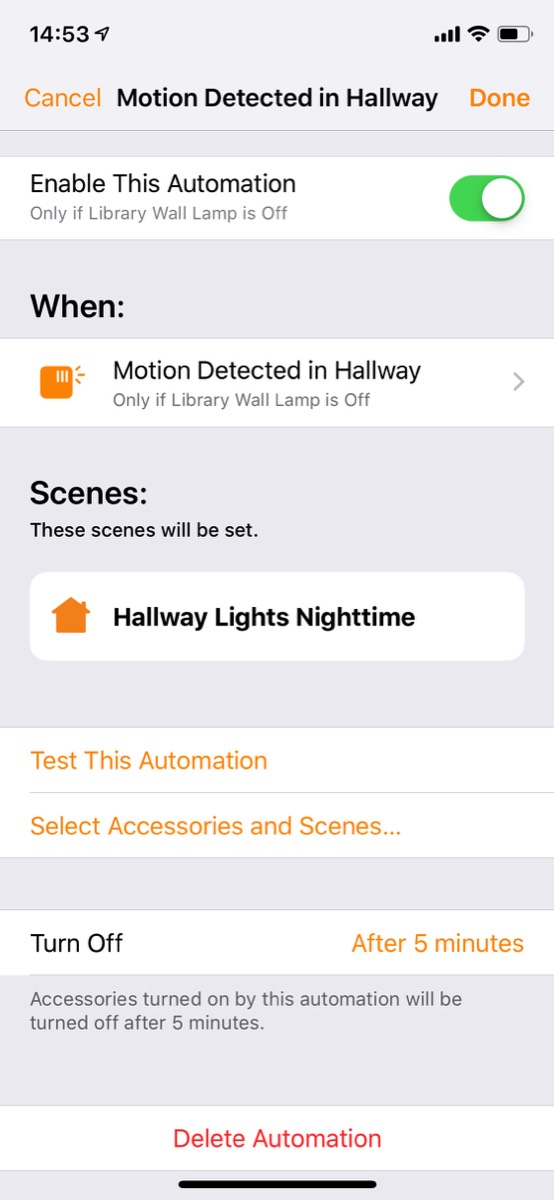
Inversely, if the wall lamp in the library is off, meaning it is night, motion in the hallway activates the scene “Hallway Lights Nighttime”, which only turns on the hallway wall lamp at 15% brightness (and off again after 5 minutes), see screenshot below
If motion is detected in the outer hallway or the front is opened, on the other hand, irrespective of the time of day or night, the “Hallway Lights Daytime” scene is activated. The logic is that motion in the hallway at night means that someone, typically a guest, has emerged from one of the guest rooms to use the bathroom and does not want to be woken by full lights, while opening of the front door/motion in the outer hallway means someone enters from the outside and thus wants full lights turned on.
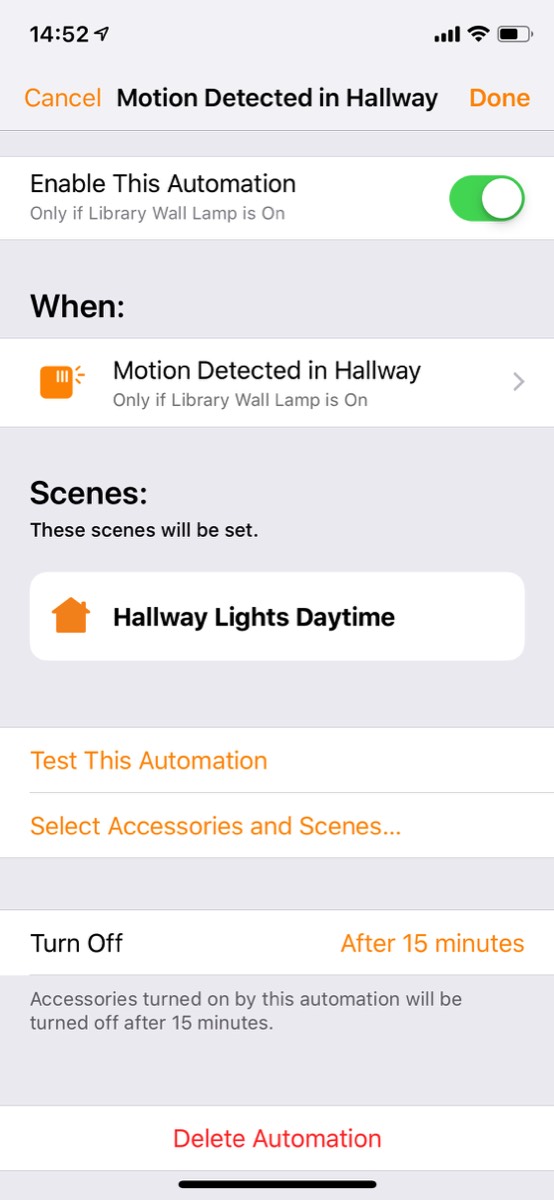
Programming of activation of the lights based on whether the library wall lamp is on and thus full light or only night light is required
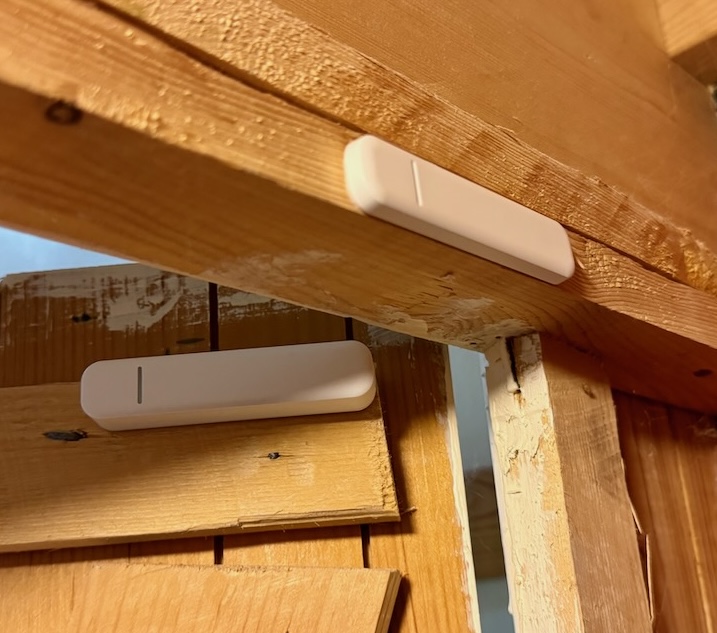
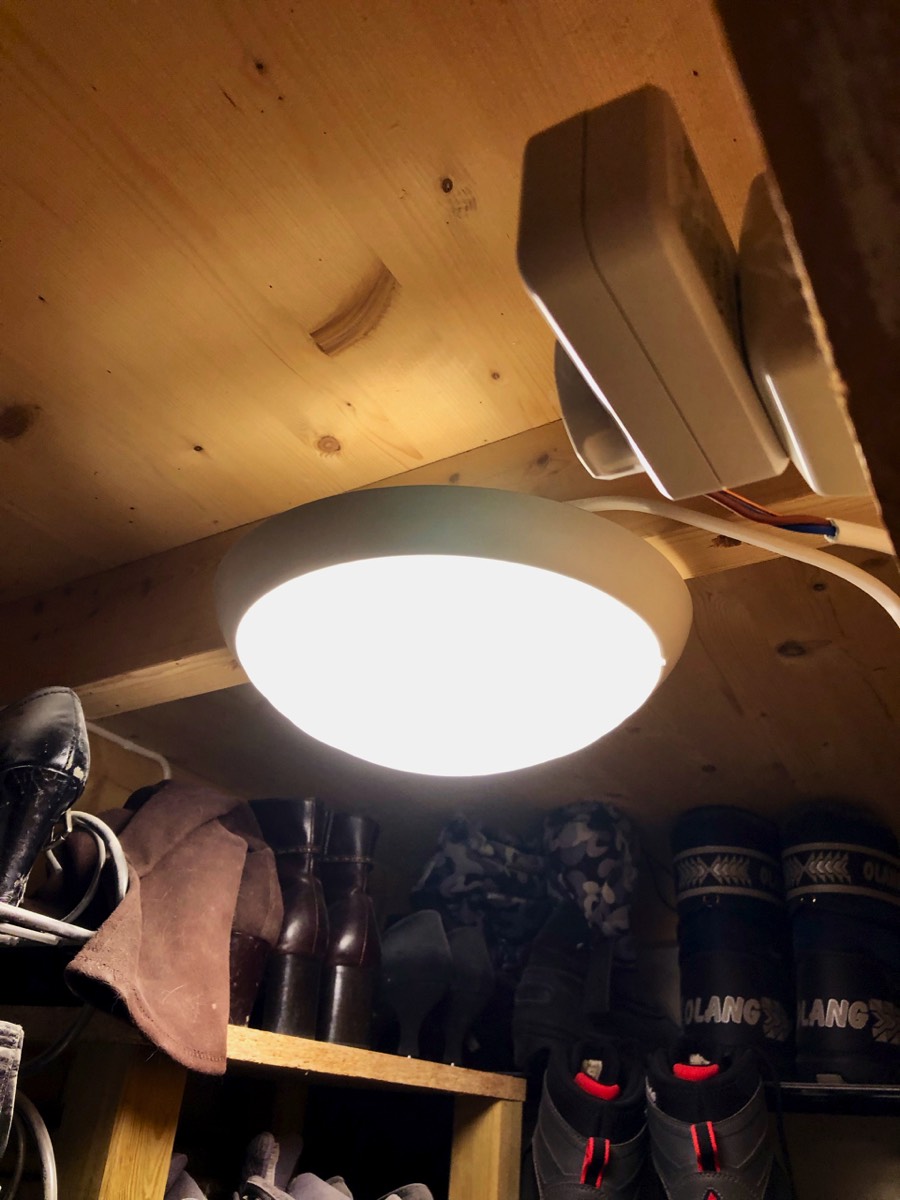
In this hallway, we also have a “shoe closet”, in reality a small cabinet under the staircase, and we implemented a solution here to turn the light on/off when the door is opened. For a long time, this was controlled using an Eve door sensor, but partly this sensor used a rather expensive battery that had to be replaced about annually and partly this bluetooth-based sensor was sometimes quite slow to respond. When IKEA launched a reasonably priced contact sensor, Parasoll, the sensor was replaced with one of those, installed on the shoe closet door so that it controls an IKEA Trådfri plug, see pictures below.
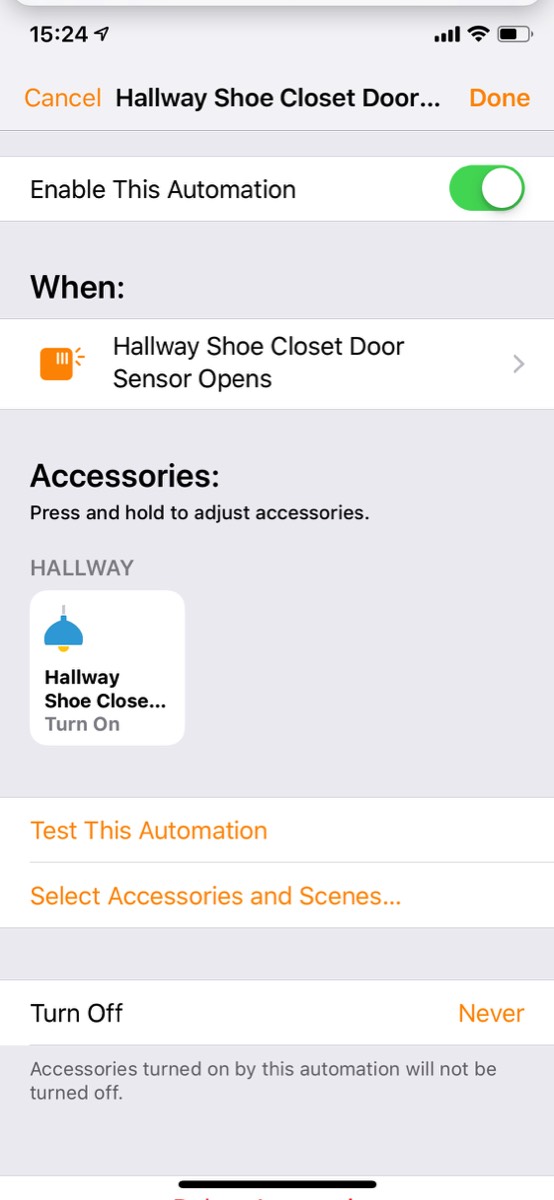
This is easily programmed in Apple Home so that the door sensor turns on/off the smart plug based on the door status, see screenshot below.
Simple programming of the shoe closet light based on the door sensor (similar rule to turn the light off when the door closes)
The electric underfloor heating is controlled by another Heatmiser neoStat-e thermostat, shown in the picture further up on this page (see bathroom upstairs for a more detailed description of this type of thermostat). This room has a floor sensor under the tiles, which gives the thermostat is temperature measurements.
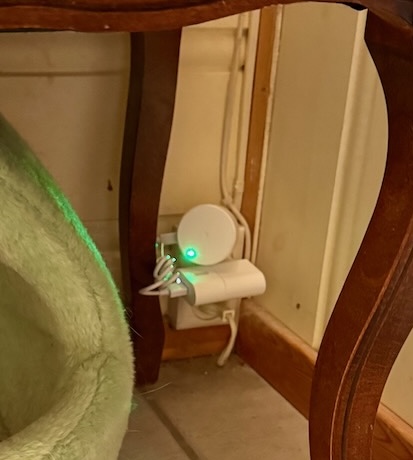
When we installed the smart doorlock from Danalock in the outer hallway we also bought a corresponding base station, Dana Bridge. This must be with bluetooth range of the lock so it was placed here in the hallway, underneath a bench, see picture below.
Danalock base station
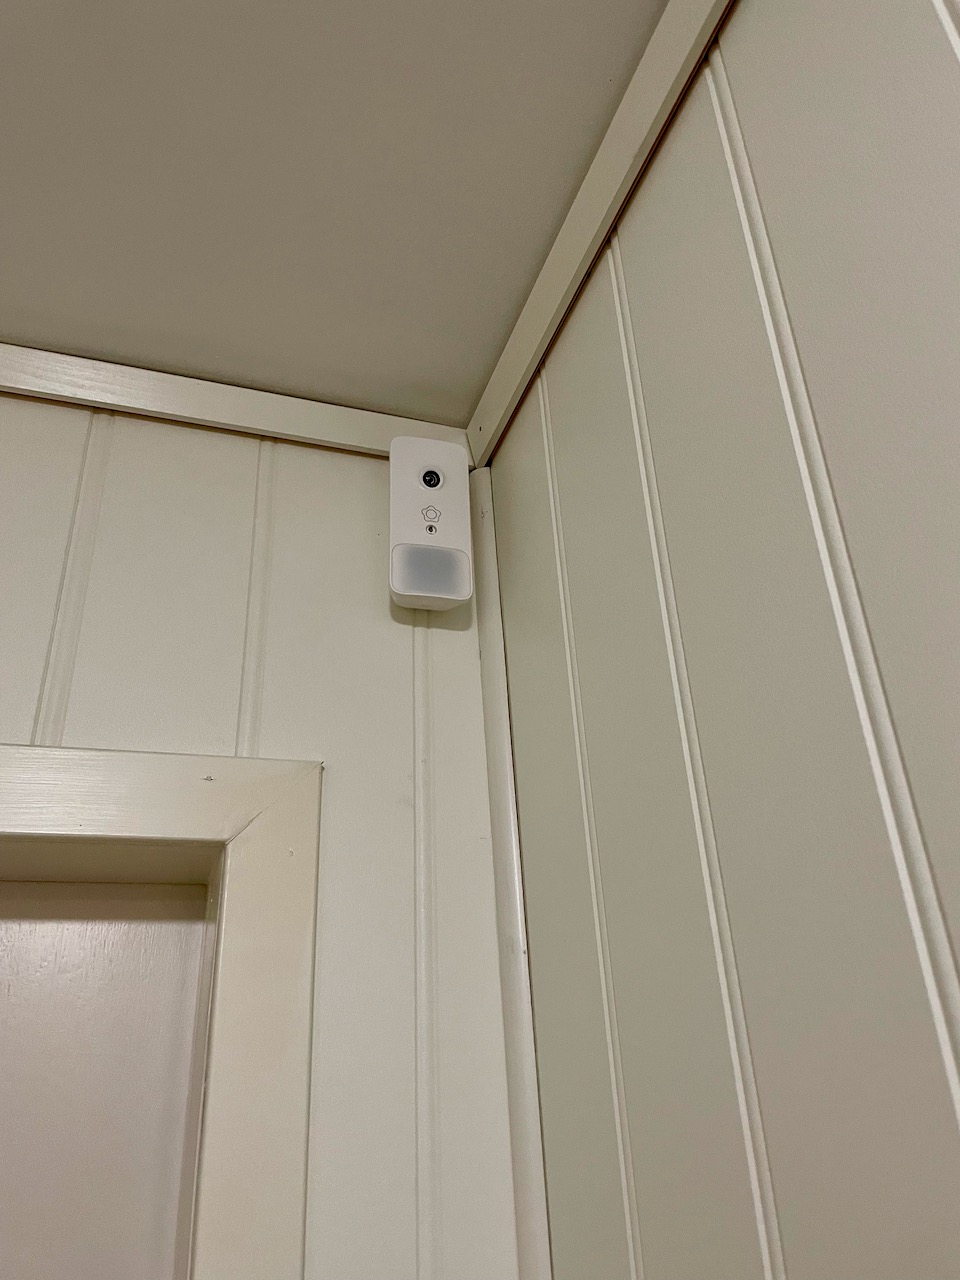
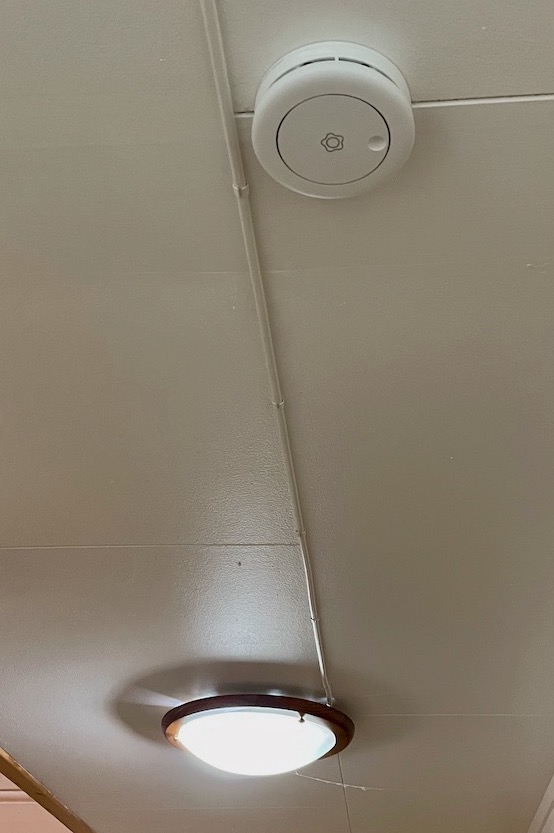
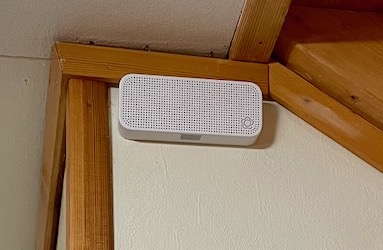
Here there are also some Verisure components; motion sensor with camera, smoke detector, which also measures temperature and humidity, as well as a voice box, which enables talking to the alarm company and which also measures temperature.
