Outdoor
On this page, I present the actual solutions installed outdoor around our smart home, with links to specific products used and how these have been set up
This room contains solutions for the following systems (notice that on phones, the table might only be displayed in landscape mode):
| System Type | Components |
|---|---|
| Lighting |
|
| Climate Control |
|
| Home Entertainment | None |
| Security and Alarm |
|
| Plant and Garden Care |
|
| Pet Care |
|
| Control and Integration |
|
Description of the solutions in this room
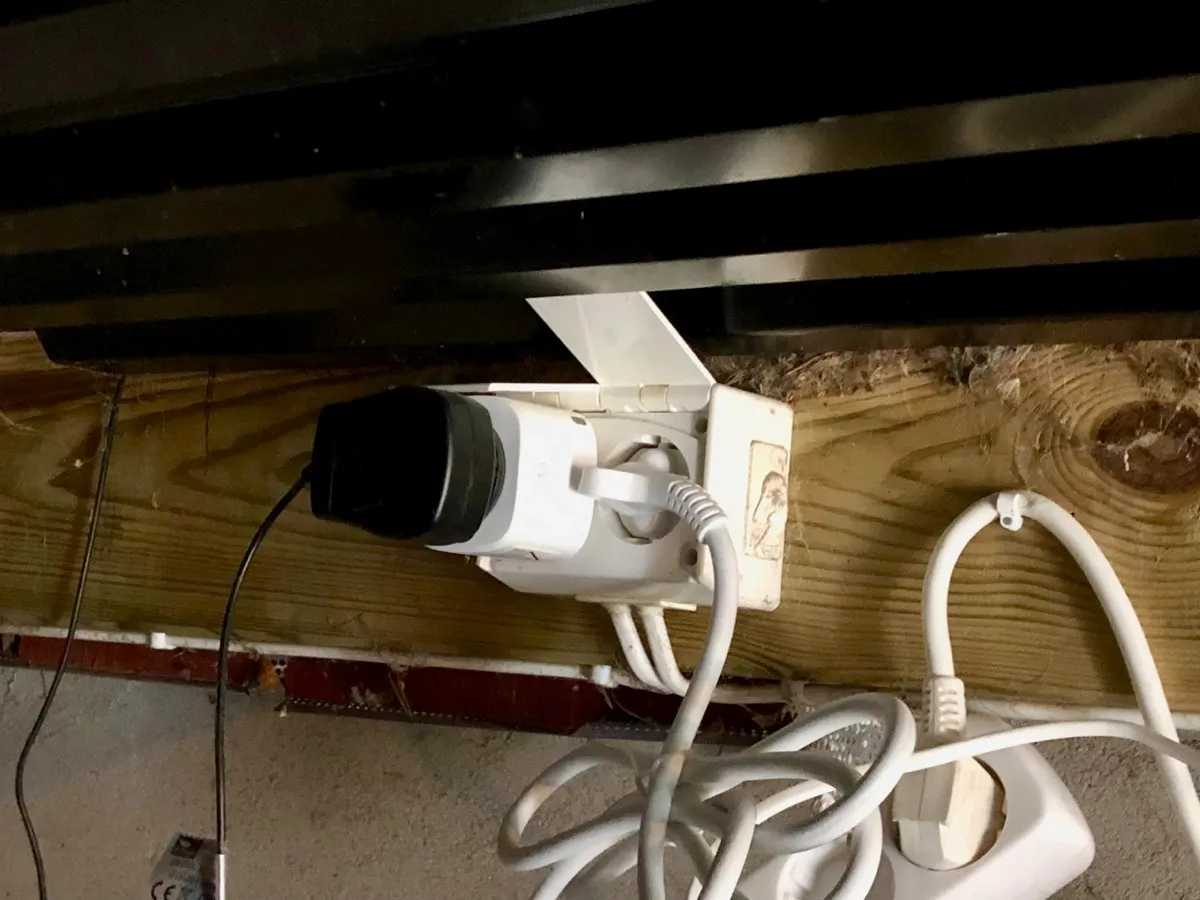
The first outdoor lighting installed was in the form of simple on/off control of a chain with outdoor Cosa LED spotlights using an Eve Energy smart plug, see pictures below. This smart plug uses Bluetooth for communication and the distance to this placement was obviously too long since it would often turn up as unavailable. It was therefore replaced by an IKEA Trådfri smart plug, which relies on Zigbee for communication and has no issues with the range. These lights turn on at sunset, are turned off when going to bed, and are also linked to a Philips Hue outdoor motion sensor, see more about this below, so that they turn on at motion when it is dark outside.
A more complicated project that lasted a while was an extensive upgrade of the outdoor lighting on the property. A count showed that we had 11 outdoor lamps; nine of these plain outdoor lamps with classic E27 bulbs and two more modern lamps with two GU10 bulbs in each, pointing respectively up and down. All these lamps were controlled by two “old-fashioned” solar cells placed respectively on the house and garage walls. This has worked well; the lights come on when it gets dark and turn off again in the morning. Despite some attempts at adjusting the solar cell sensitivity, I had though never managed to quite synchronize the two and the lights would generally stay on longer than really necessary. And there were of course no options for remote control of the lights.
So I had an investigation going into upgrading these. A small challenge for lights controlled by such solar cells is that the cell sits between the light switch and the lamp, so that in daylight there is no power to the lamp. Smart bulbs will thus get disconnected and not be available for remote control. This can be solved in different ways; the easiest is simply to cover the cells (preferably with thick, black tape) so that the power stays on 24/7. A more “proper” solution is to remove the old solar cells (typically replacing them with a wall box designed for outdoor use). Both solutions then allow replacing the old bulbs with smart versions, which allow remote control and programming, e.g., based on time of day, detected motion in the garden, the doorbell is rung, etc.
In our case, the solution has been to tape over the solar cells. The E27 bulbs have been replaced with IKEA Trådfri E27 1,000 lumen and two Philips Hue E27 bulbs, one with 1,600 lumen in a new lamp (see picture below) and the GU10 bulbs with IKEA Trådfri GU10. I was a little anxious whether the tape would be good enough cover to keep the bulbs with constant power and also uncertain whether some bulbs would be too far away from the house/other bulbs to stay connected, but neither has been a problem. The lights have been programmed in the Home app to turn on at sunset and off at sunrise. As far brightness, they are just as good as the old ones, and they consume much less power.
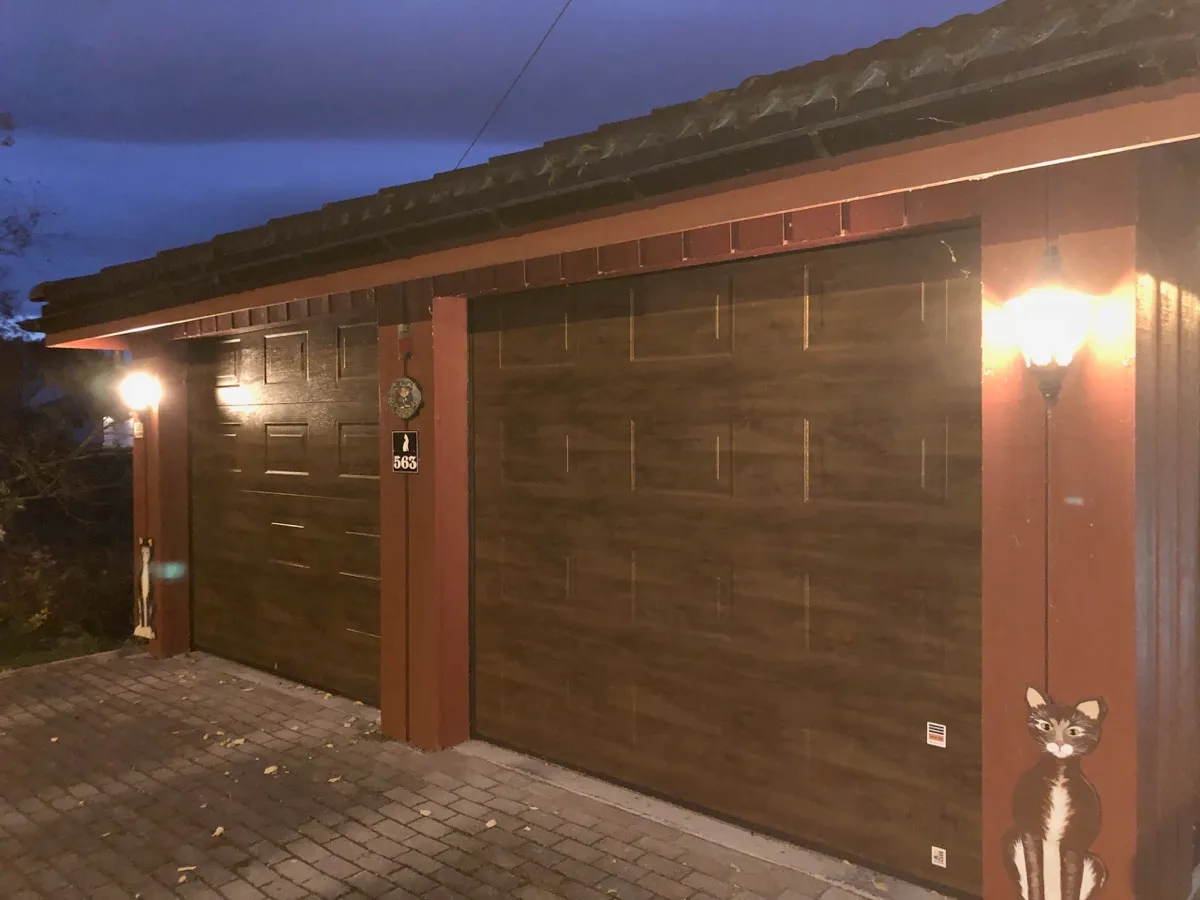
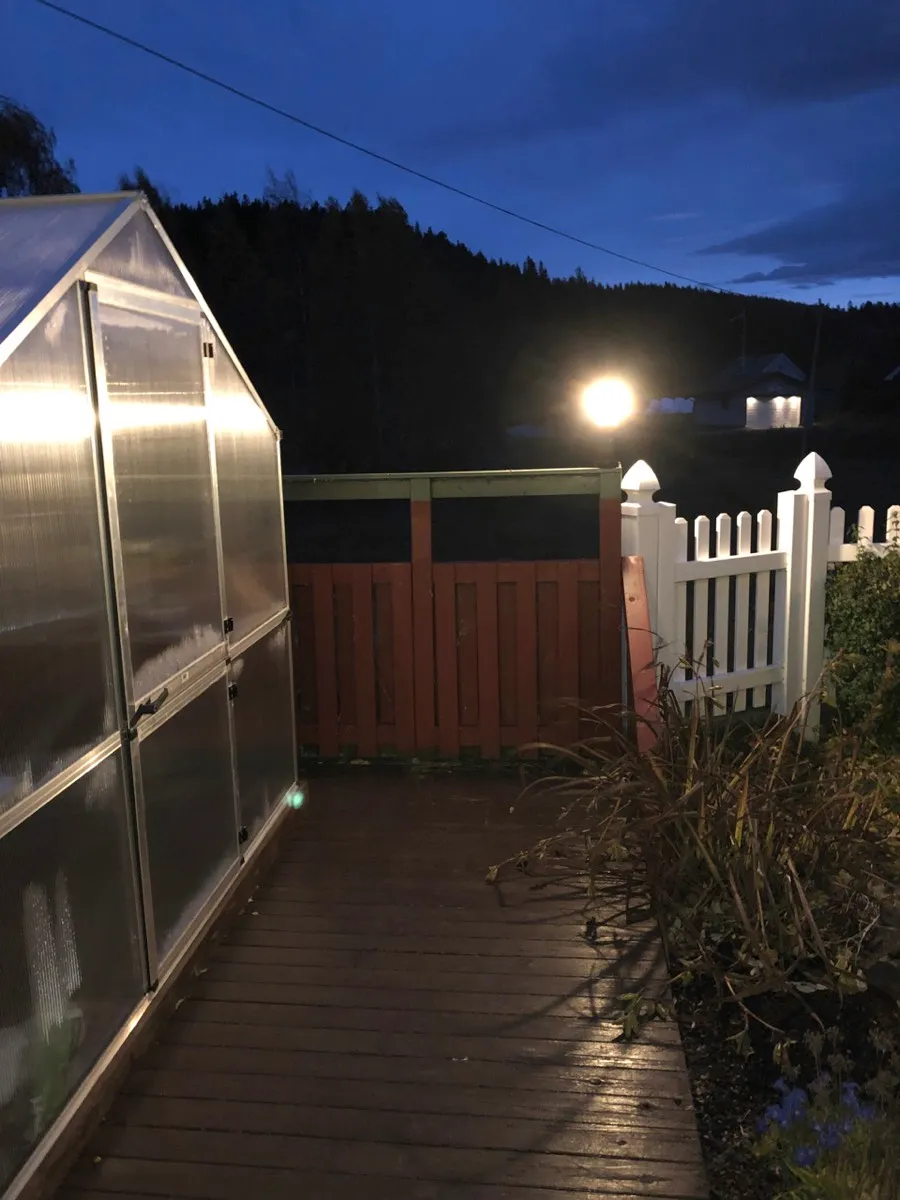
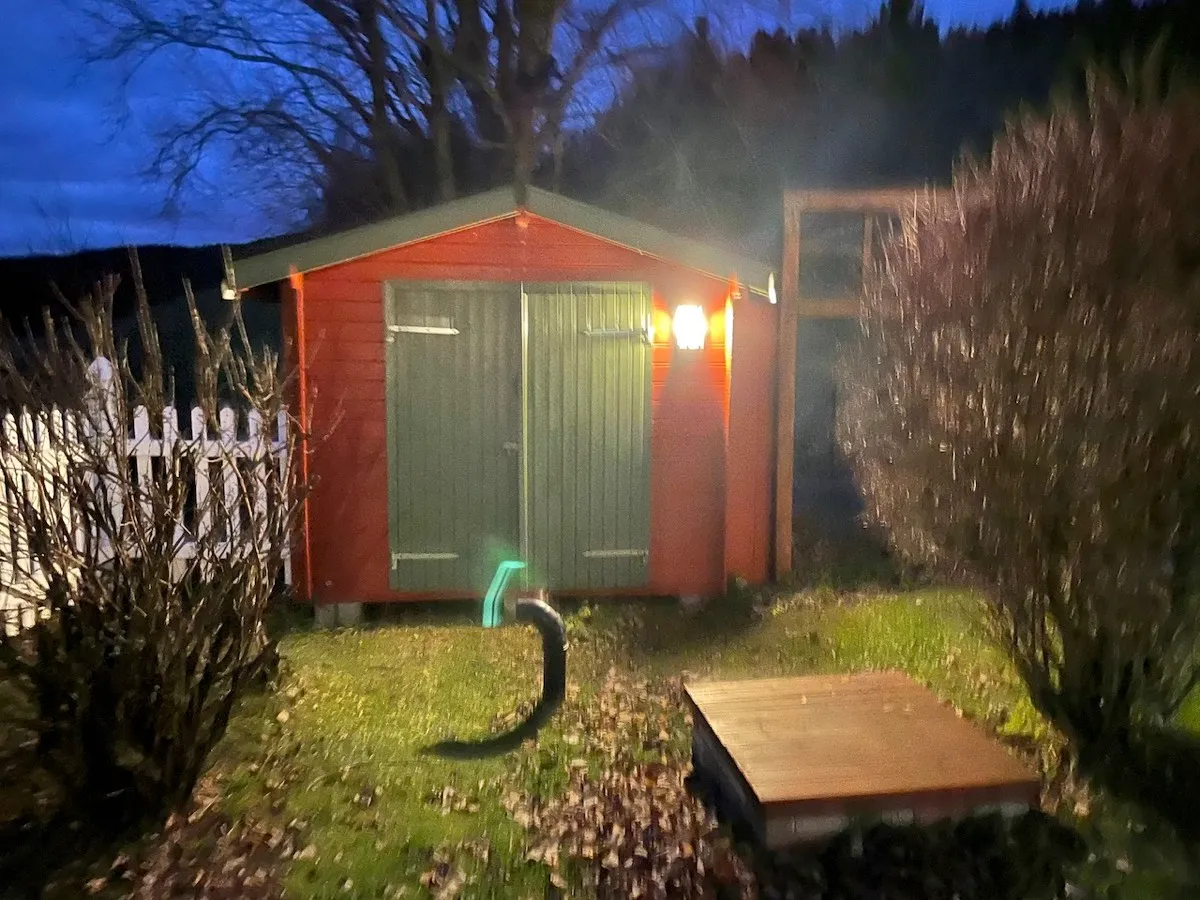
Another option, instead of replacing the bulbs in the existing lamps, would have been to replace the lamps themselves, especially if the old lamps could do with an upgrade. I did consider this for the nine lamps of a similar type, which are black wrought-iron lamps with a touch of 1980s styling. Philips Hue launched a rather extensive series (which keeps expanding) of outdoor lighting (opens in a new window) in 2018, including some wall lamps. Based on the specifications and marketing images they seemed promising as replacement lamps for our house, but I was unsure whether the brightness and light pattern would be ideal. I purchased a Philips Hue Turaco wall lamp for testing, in several places around the house. Unfortunately, the conclusion was that both the brightness and distribution pattern were inferior to the lamps we had. Thus, we went with the bulb replacement solution.
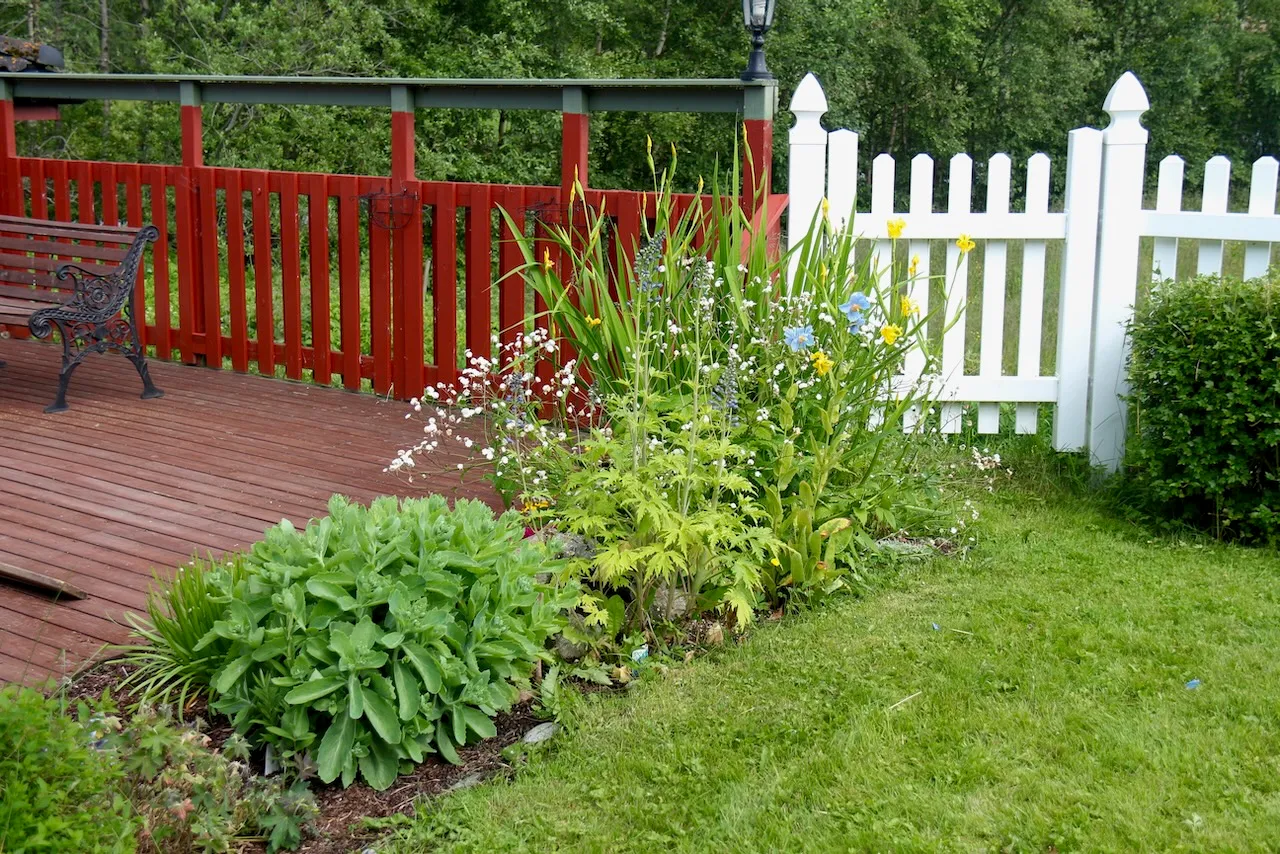
There are, however, other products in the outdoor series from Philips Hue which seem more promising for use in our garden; posts, pedestals, spots, and light strips. Several of these would be good additions to our outdoor lighting. And in fact, we have already installed three Philips Hue outdoor lightstrips, the first more as a test of the brightness and usefulness. I had some concerns about how these were fixed in place, whether I would be able to lead power to where they would best fit the garden, whether there would be connection issues due to distance to the house/rest of the system, and not in the least how they would take a Norwegian winter. However, the first test was positive and they are mainly used to frame three flower beds where we used to have some cheap solar-charged battery-battery LED posts in the corners, see picture below. Those cheap lights had rather weak light, especially in the fall when they would have their primary effect, but there is less sun to charge them, and they rarely lasted more than one or two seasons before they stopped working. My assessment of the light strips is:
- Assembly is quite easy to do; there are plenty of clips that are screwed into the surface where the strips are to be installed, and the strip is easily popped into the clips. I was a bit curios to see how flexible the strips are, since they are rather thick, and to install them around the flower beds would require bending them around the corners. This was no problem, they are quite flexible in one direction (they are far more rigid the other way, so there are limits to how they can be shaped).
- Regarding getting power to the strips, attached in the box is a power cable with an ordinary power plug in one end, a larger connection box, and a power cable that sticks out of the strip and with a smaller connection box. These are linked together using a water-tight screw connection and seem quite solid, but the large connection box is recommended for installation at least 30 cm above the ground. The distance from the nearest power outlet wall to the connection box was too long so I had to resort to an Hue extension cable, which is sold separately. This is 5 meters so that solved my problem, but I needed one for each of our light strips so that is a potential extra cost to factor in. There is a T-connector that comes with some of the pedestals/post/spots for outdoor use, but this can only handle 40 watts. The 5 meter light strip alone takes 37.5 watts so that is of no help.
- The range for connection has not been a problem either. As every Hue light source acts as a node in the network and the house has Hue products throughout, also the garden is well covered. In fact also light sources outdoor beyond the range of the WiFi contact with the system.
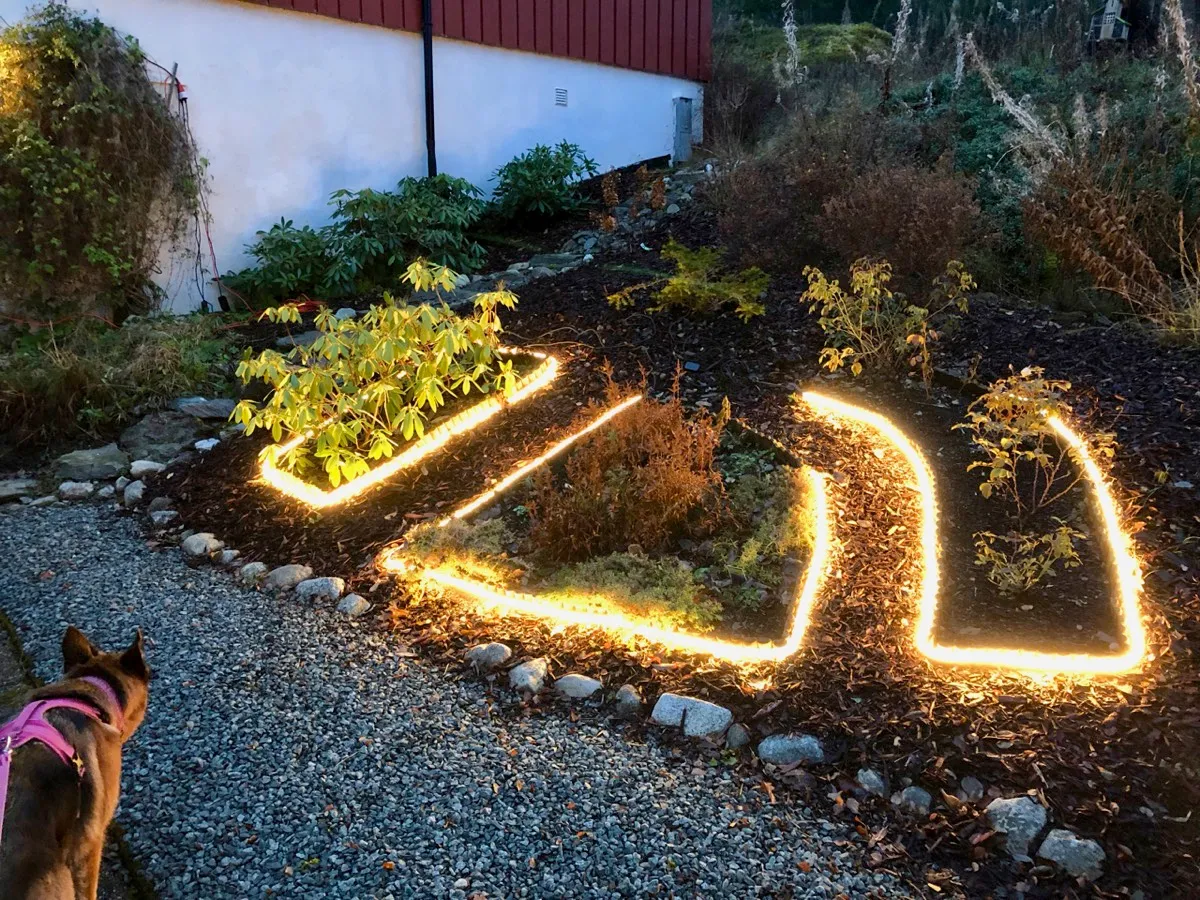
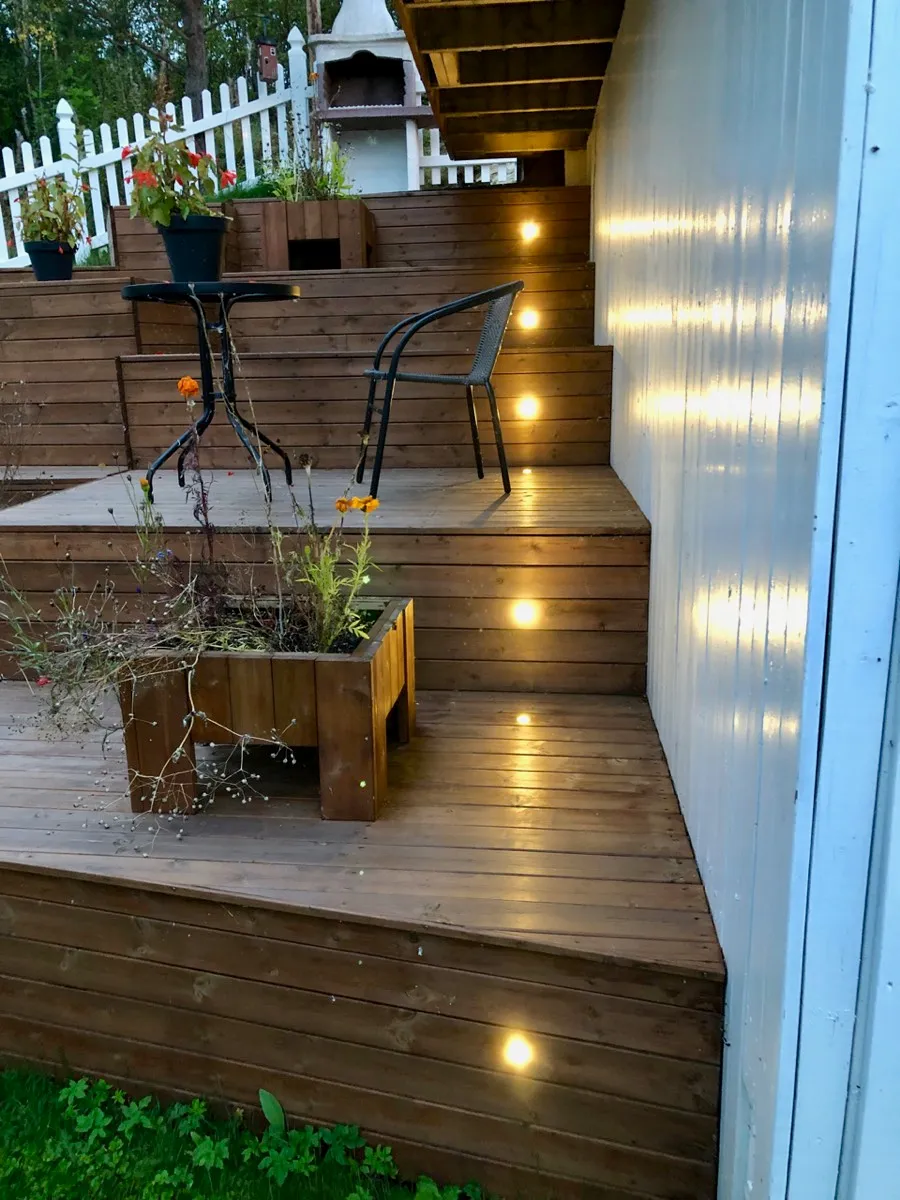
The greatest challenge faced by these light strips is that they are located almost right on the ground, where the Norwegian winter can be a tough obstacle. The light strips are obviously watertight, but the instruction manual said nothing about snow or ice. I therefore got in touch with customer support at Philips, who strongly discouraged leaving them outside during winter in places where they would be covered by snow (especially since this snow typically will turn to ice throughout the winter/spring before melting). We have therefore had to resort a procedure where we relocate the strips when winter is coming; they are placed respectively underneath the garage awning to light up the walkway, under the siding of the house to light up a section of the garden, and underneath a balcony to light up some outdoor stairs. In all these places, the strips provide light to areas of the garden where there otherwise is little light. Luckily, there were enough clips in the packages to permanently maintain two sets of clips in place so it is easy to move them back and forth between them. And when the first snowfall came in November 2018, I took the opportunity to move the strips as shown in the pictures below:
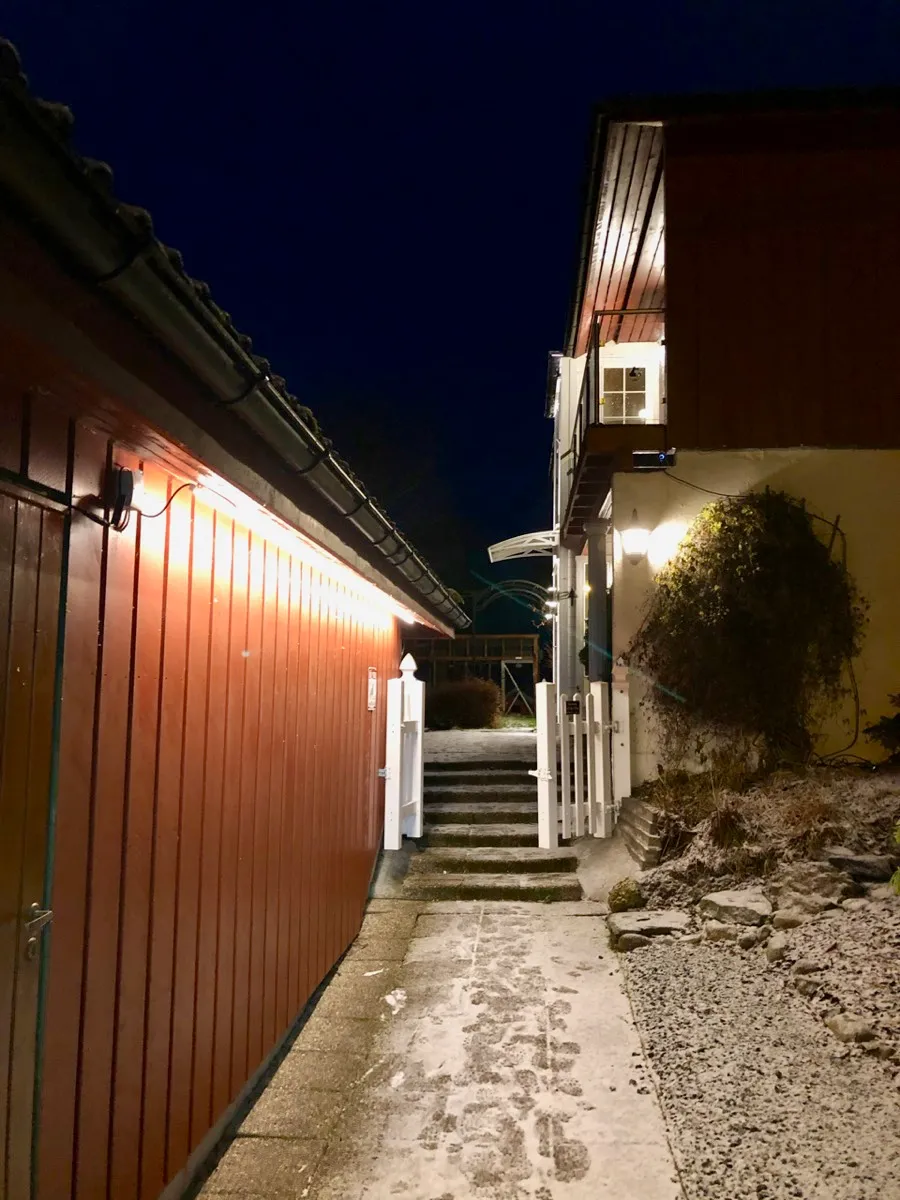
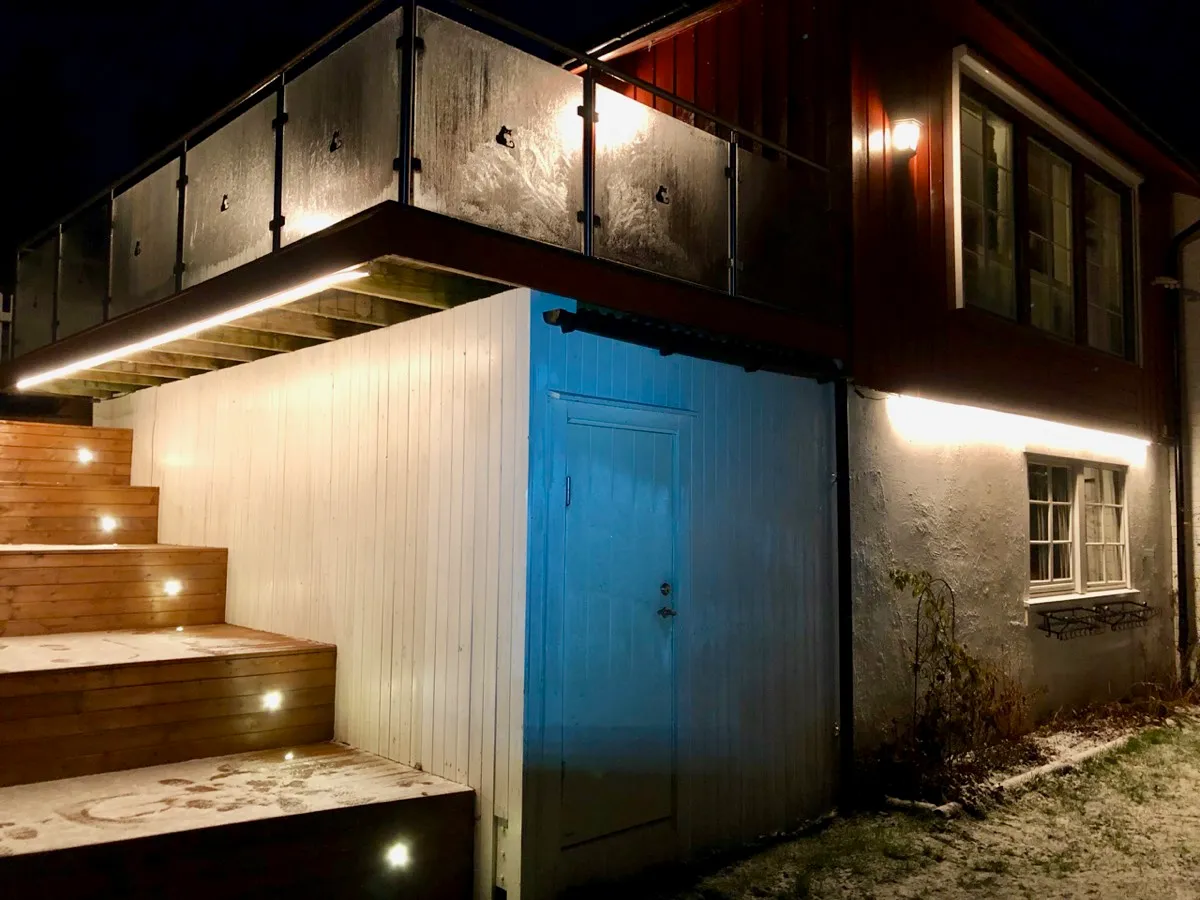
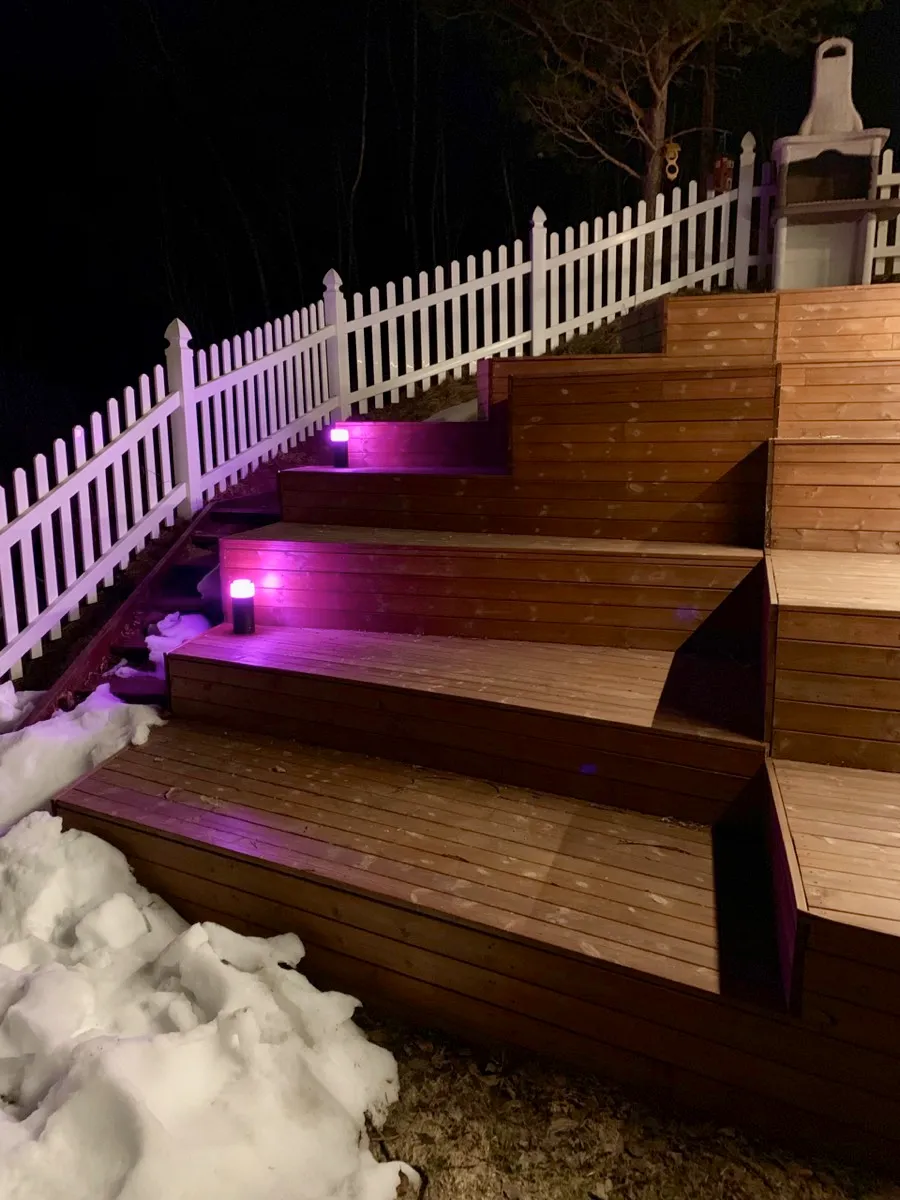
In the spring of 2019, the lighting was further expanded. I had been looking at the different Hue pedestals for the purpose of lighting up the stairs going from the balcony down to the lawn, shown in the picture above. This staircase had rather poor light in spring/fall so I ended up getting two Philips Hue Calla outdoor pedestals (I cannot find the exact type we have on the UK Hue pages, ours is broader and of lower height). It took some work to open up boards in the construction to pull the power supply to the right spots, but the attached cables are very practical to work with, including a T-splitter, and in the end it ended up as shown in the picture below.
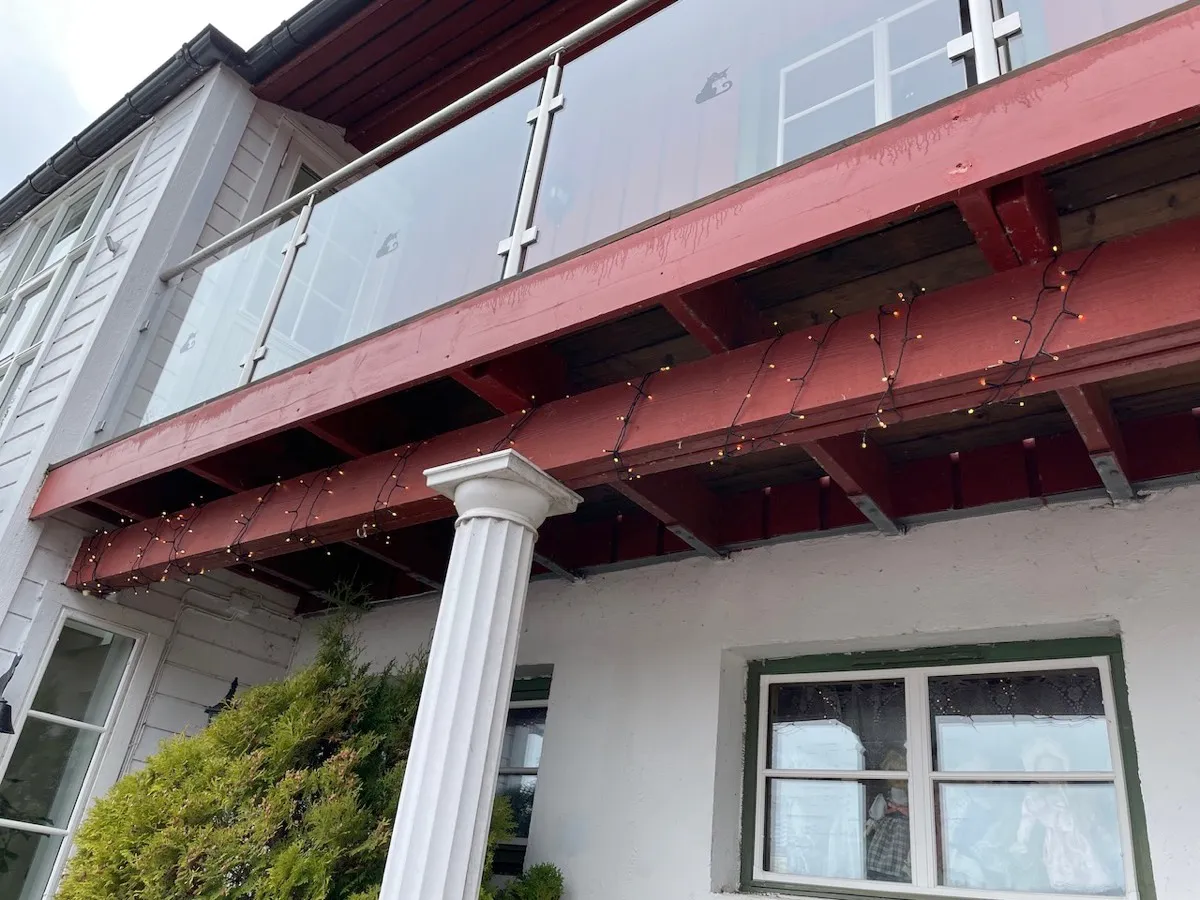
As described for the living room, we have a Twinkly chain of lights, which is strictly speaking probably meant for use a Christmas decoration, but which the cats determined were good to chew on. However, it was rather expensive, is quite bright, and very decorative, so it felt a little wasted to pack it away. After some speculation, and not in the least debate with the lady of the house, it was decided that this could be slung around a beam in the garden, see picture below. Here, they only display one-color light, no fancy patterns suitable for a Christmas tree.
Partly to obtain measurements of light intensity to control the sun screen in the living room and partly to control the outdoor lights not only based on the time of day, but also presence of people in the garden, we installed two Philips Hue outdoor motion sensors. One was installed on the garage wall to detect when someone arrives at the house via the walkway along the garage, the other is on the house wall, see pictures below.
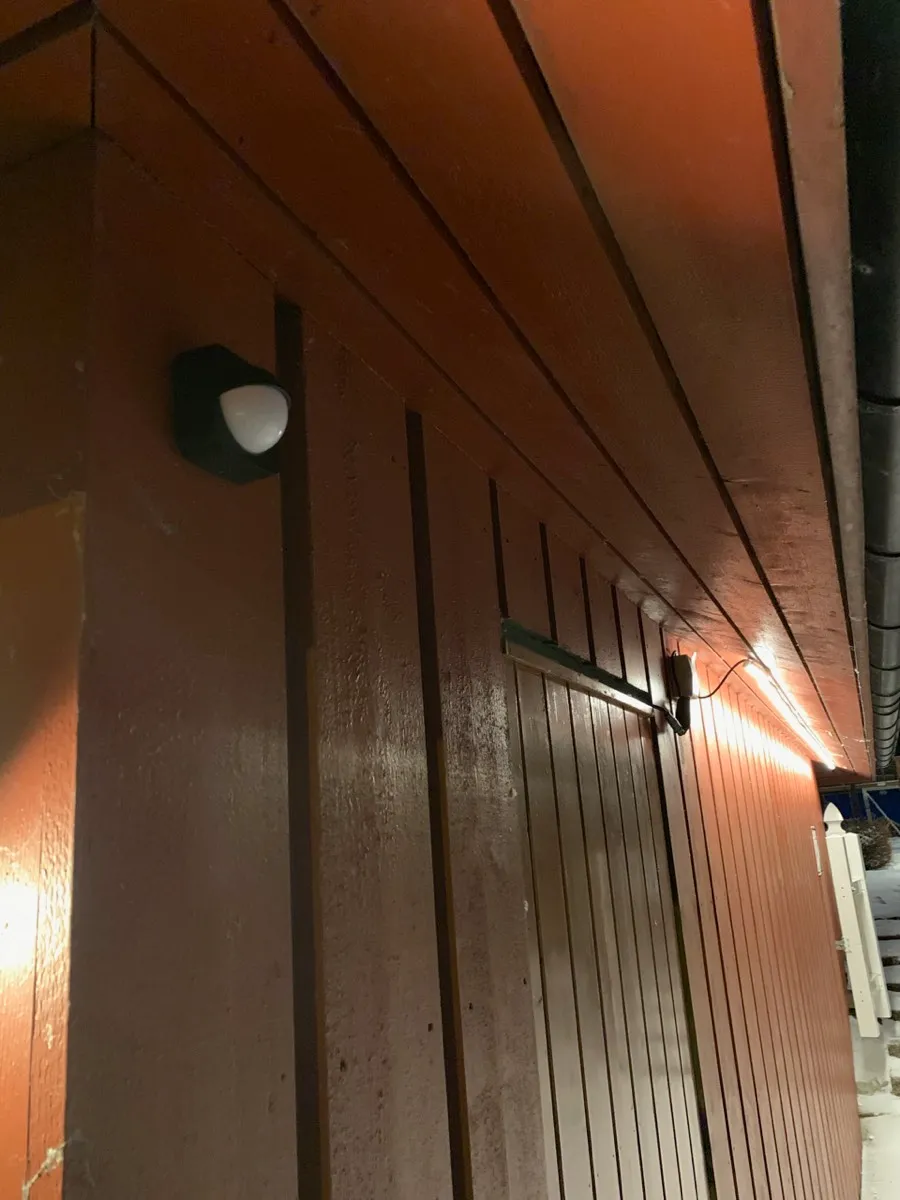
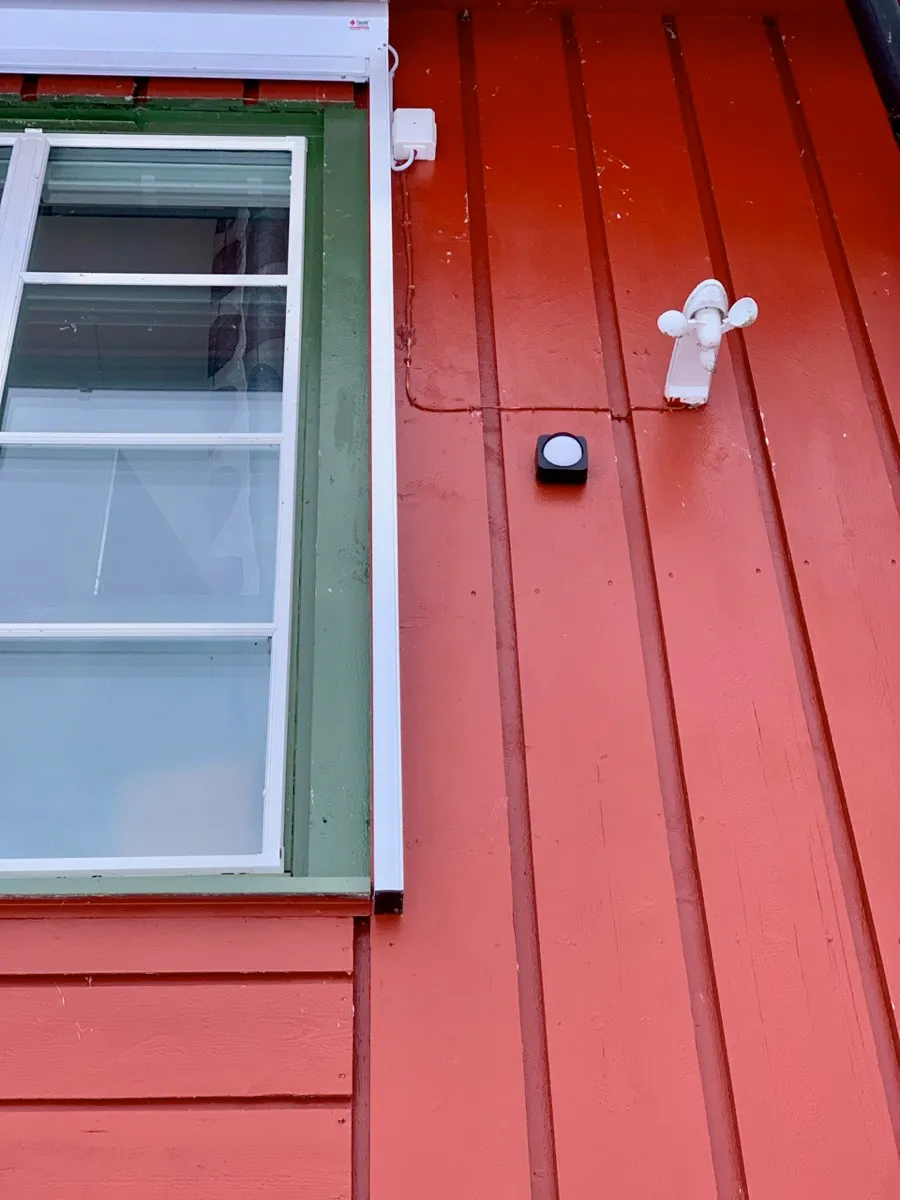
Early on after upgrading the outdoor lighting, they were programmed fairly simply; they went on at sunset and off again at sunrise, which worked well; Apple Home keeps fully track of how these times change during the year. But with so many lights, both regular lamps and the light strips, it is “overkill” to keep all of these on during the whole night, which also consumes a lot of energy. We have later therefore programmed this as follows:
- All outdoor lights turn on at sunset
- In addition, one of the outdoor lamps, which is located so that it sends quite much light into the library during the night, turns off as part of the “Good Night” scene
- During winter, when the light strips are placed around the garden, the lights are controlled a little differently:
- If motion is detected in the outer hallway or by the motion sensor installed on the garage (thus monitoring the driveway), both the light strip on the garage and the lights around the front door are turned on (and off again automatically after 10 minutes)
- If motion is detected by the motion sensor installed on the house wall (thus detecting it when someone walks further into the garden), the light strips mounted on the house wall/balcony and the Cosa LED lights are turned on (and off again automatically after 10 minutes)
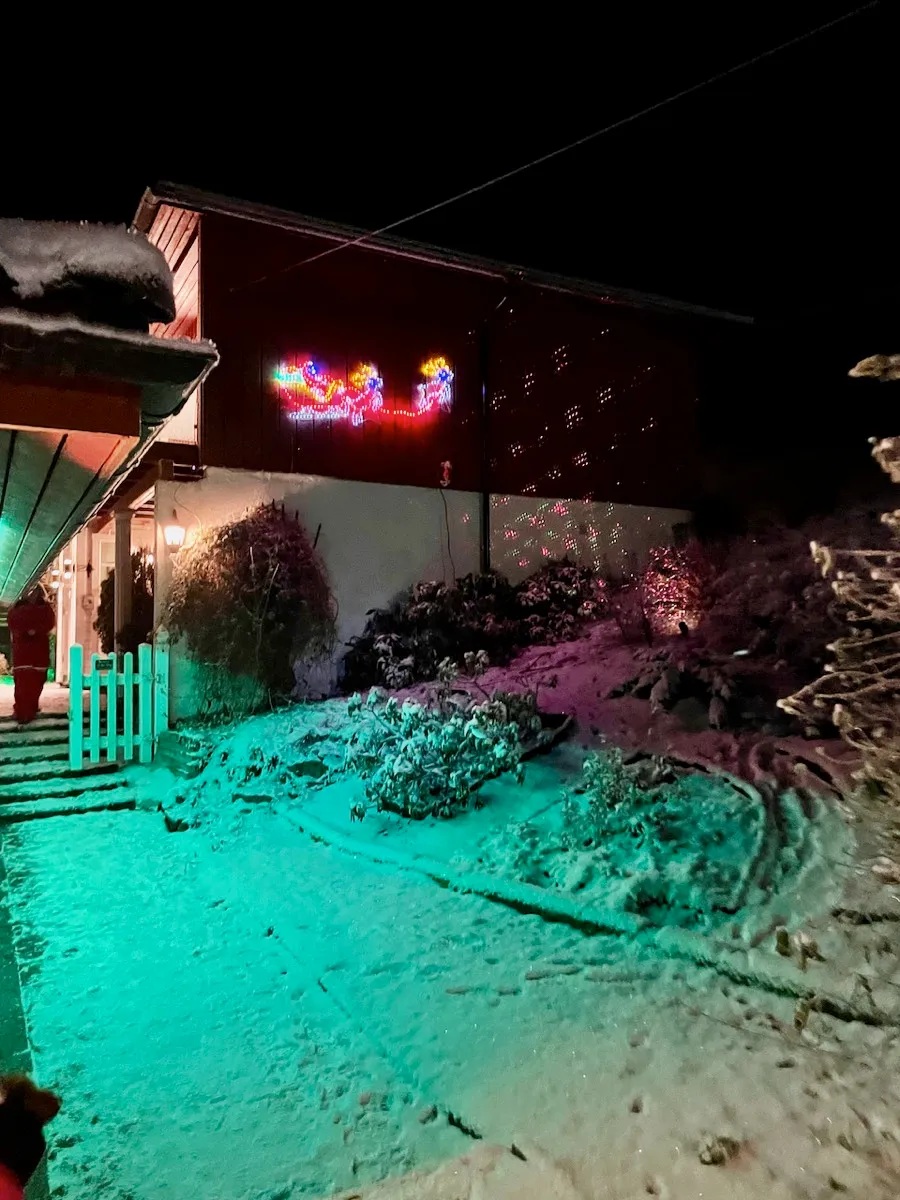
As mentioned above, around Christmas time, for lights where the color can be changed, it is changed to more seasonal colors. In addition, we have some dedicated Christmas lights that are only put off this time of year. Most of these are “dumb” and can only be turned on/off by plugging them into power. These are controlled using smart plugs and turn on at sunset and off again at sunrise. A rather unique device is a Hooligo laser projector, which creates a “Christmas pattern” on one of the house walls, see picture below. This is controlled using an RF-based remote control, and it works very well integrating this into Apple Home via a Broadlink RM4 Pro universal remote control (located in the living room). This allows starting the “laser show” at sunset and stop it at midnight.
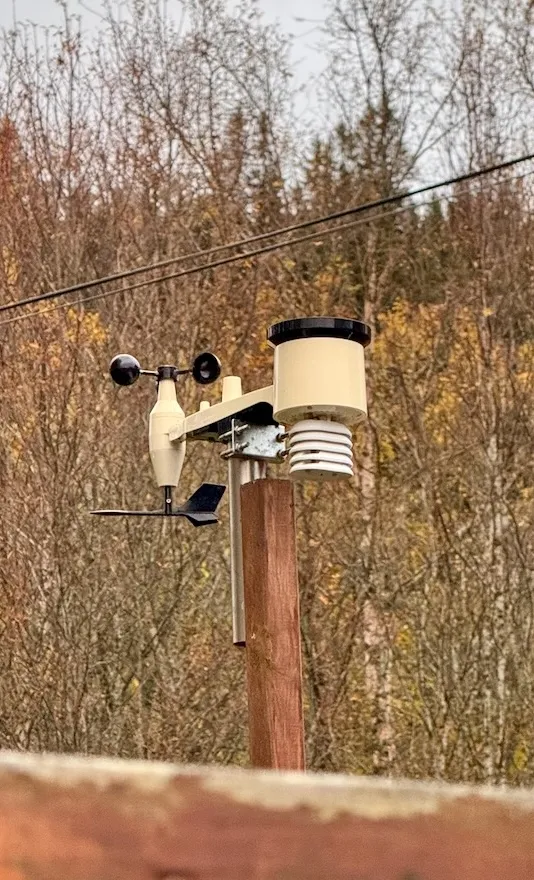
An Ecowitt WS69 weather sensor, connected to the gateway in the living room, has been placed on a pole high above the cat pen, see picture below. This provides very much weather data, such as temperature, humidity and solar light level, but also rain and wind data, which is used for controlling the sun screen in the living room. As mentioned in the description of the living room, we previously had a Netatmo weather station, with separate wind and rain gauges, but these were decommissioned after the Ecowitt sensor covers all of this in one device.
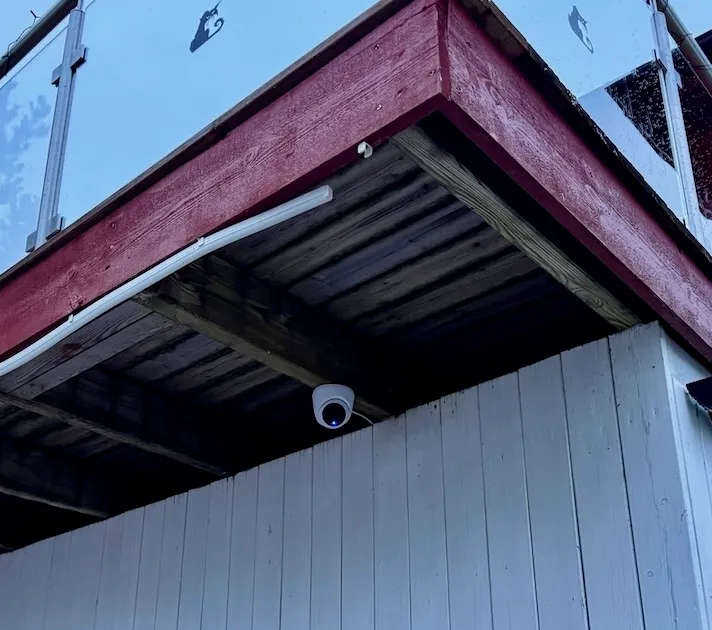
Finally, in the category of security and alarm, we have five cameras outdoor. One is installed, a UniFi Protect G5 Ultra Turret camera, under the veranda, see picture below. This is a location at the property which is quite far away from the closest WiFi access point so it is connected by an ethernet cable, which also provides it with power. This is not a camera with native Apple Home integration, but it is very easy to integrate either through Homebridge or Scypted (opens in a new window). Both even allows HomeKit Secure Video, and we use the latter, since it seems to be marginally faster than through Homebridge. The camera is angled to give a good view of the cat pen, where the cats spend much time during the summer, so that we can easily see what they are up to.
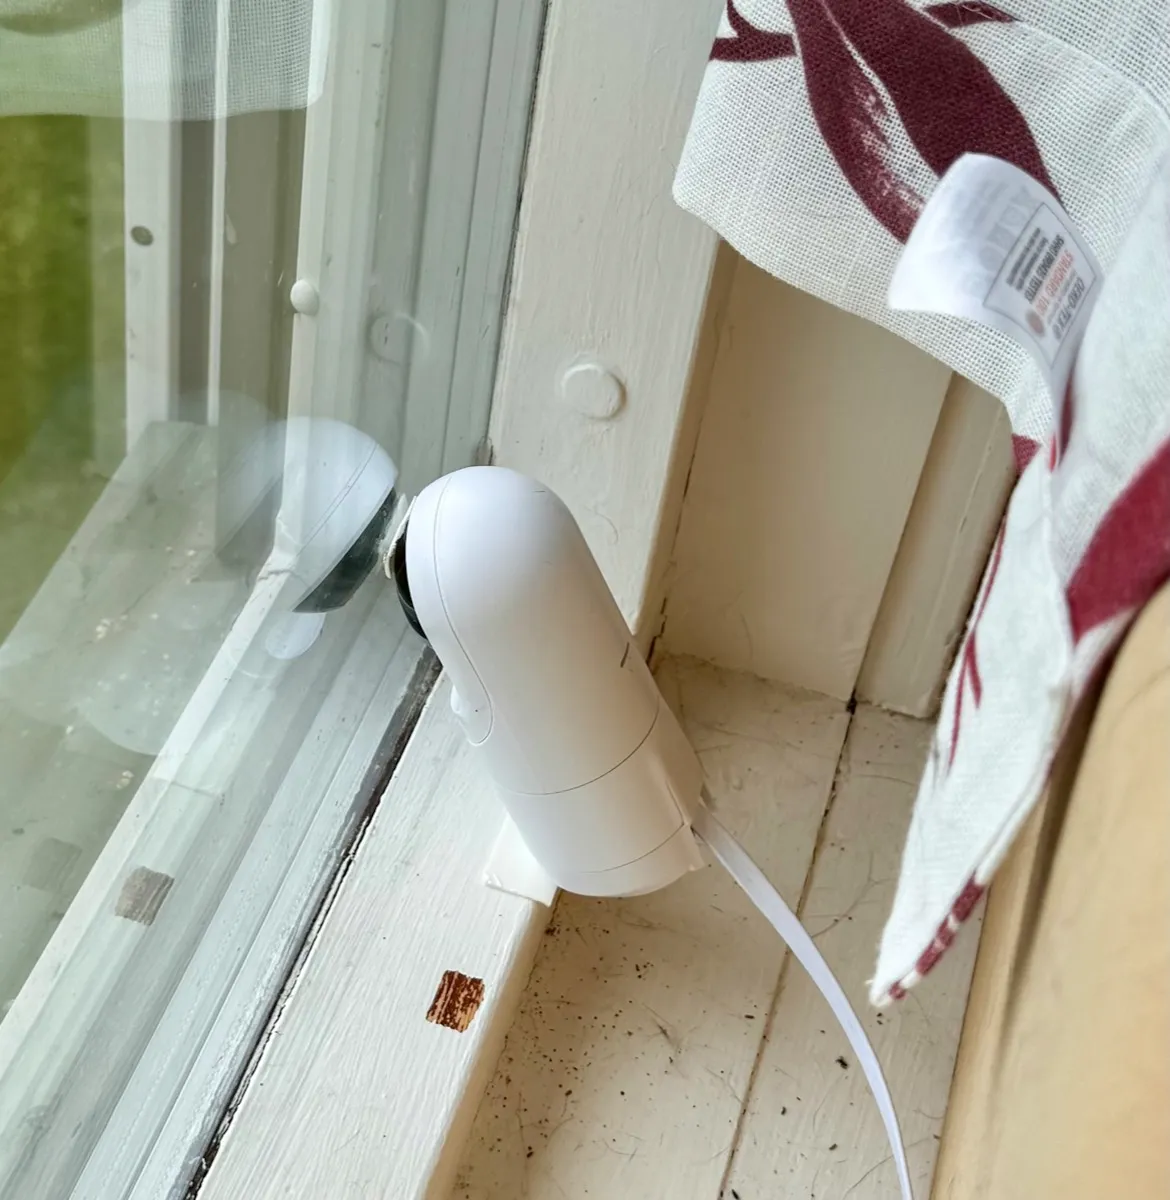
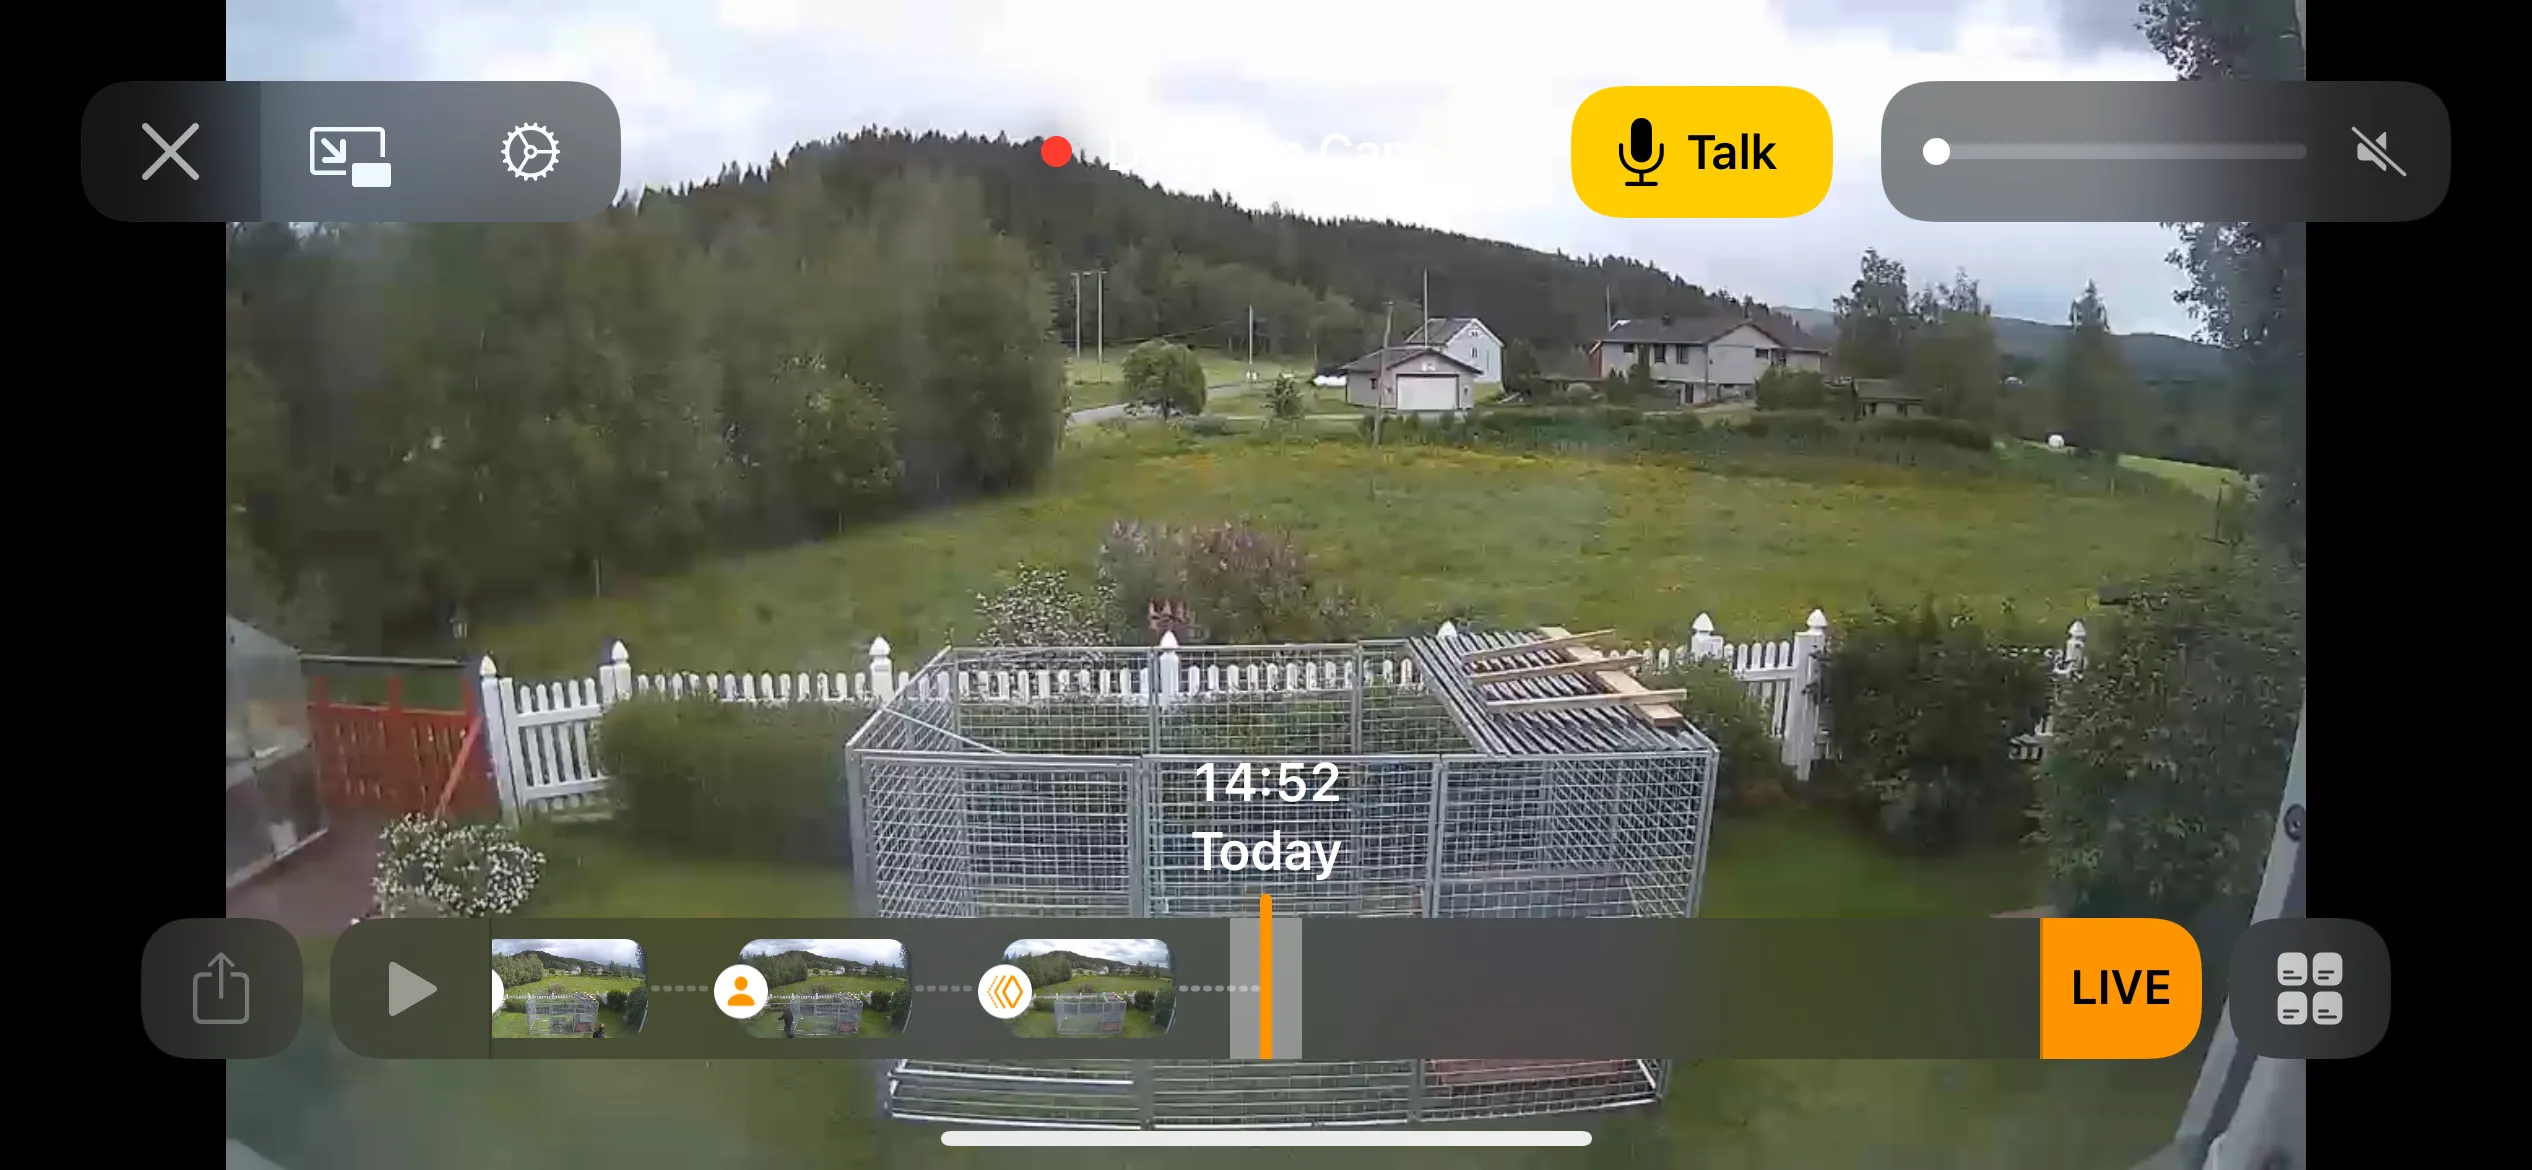
We also have a camera overlooking the garden which allows us to see what the dog is doing if she is alone outside, a UniFi Protect G3 Flex PoE camera. It is small and strictly speaking mounted in the window of the living room, see picture below, but angled toward the dog pen and has nice image quality and has a built-in motion sensor. This camera does not have native support for Apple Home, but is integrated via Scrypted.
In addition, we have installed another Logitech Circle 2 Wired camera facing the driveway and walkway between the garage and the house, see picture below. This serves several functions:
- If we are away from the house during winter, we can see if/how much it has snowed, so we can start dreading the heavy work when we return home.
- If something should be stolen/broken in the garden, we can see who was behind it (we had a very nice stone cat stolen some years ago with no way of figuring out where it went).
- And in the category of trivial problems, often during snowfall, people use our driveway as a turning space, creating tracks that make it harder to remove the snow. The camera can make it easier to see who insists on doing this…
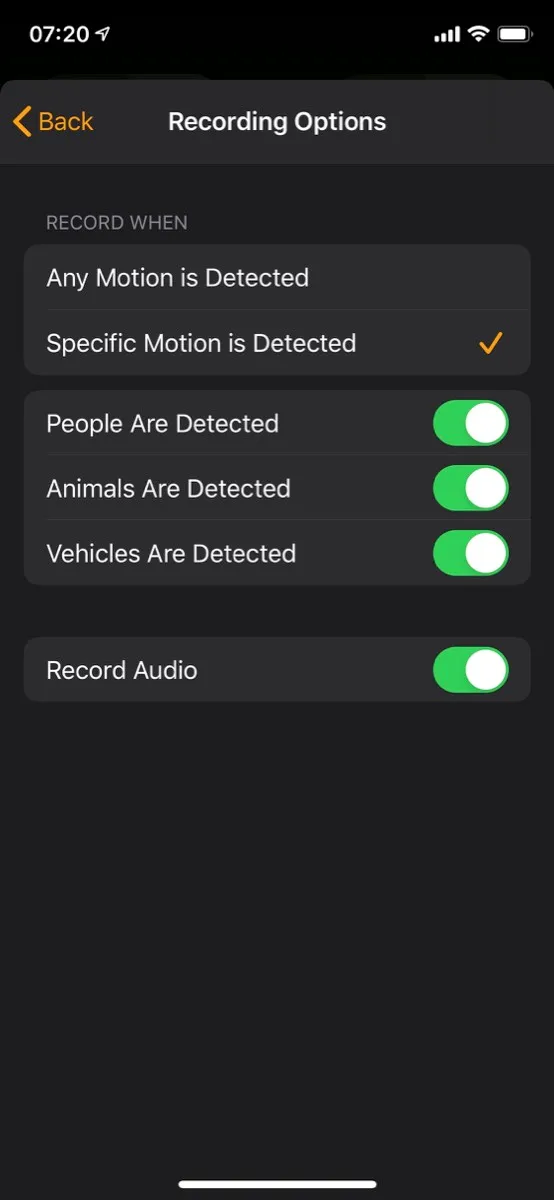
In november 2019, Logitech released a firmware update that made this camera kompatible with so-called HomeKit Secure Video, allowing video footage to be stored in iCloud (and these do not count toward your data quota, so this is much cheaper than having a subscription from Logitech for storing recordings). It also gives somewhat more fine-grained control over which type of detected motion should trigger recording (you can choose among people, animals, or cars, or all motion, see screenshot below). After a firmware update in March 2020, two additional sensors became available; measured light levels and person detection, i.e., not only motion detection, but whether someone is present in the area monitored (even if person and motion detection builds in the same data, but for person detection with “delayed conclusion” about the room being empty). This use of the camera works very well, but you should beware that after the upgrade, the camera no longer can be accessed in the Logi Circle app.
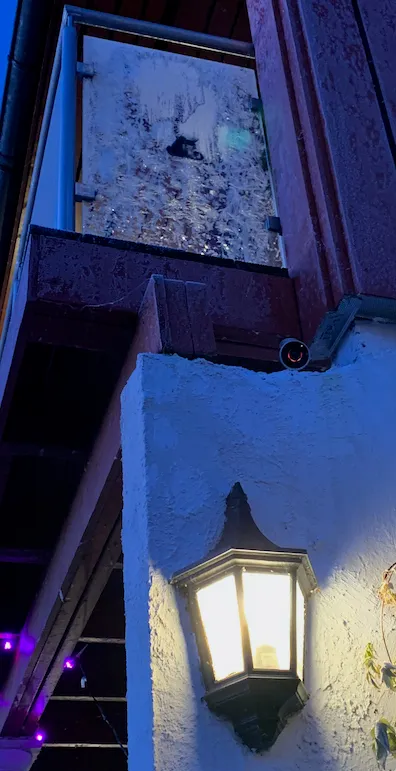
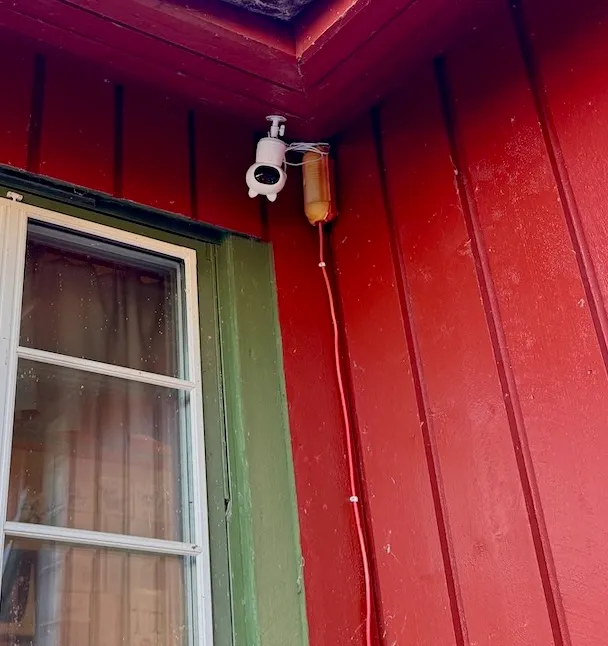
Yet another camera from Aqara, this a G3 kamera, has been installed under the awning at the back of the house, see picture below. Here, it gives a good overview of the garden on this side of the house.
The last camera is also a smart doorbell, and here we have tried several solutions. For a long time, we had a Ring smart doorbell, which also was fairly OK integrated into Apple Home via Homebridge. It did, however, pose several issues; being battery-powered and since it refused to accept charge from the accompanying Ring solar charger, it had to be taken in for charging fairly often, especially during winter. The quality of the product was also fairly poor; both the security screws and the mounts for these broke quite early on. Furthermore, we often experienced network connection issues, making it impossible to answer when people rang the doorbell, and since Ring never kept their promise about Apple Home support it had to go via Homebridge, which was not optimal.
Eventually, it was replaced by a Netatmo Smart Video Doorbell. This was connected to wired power so charging was not an issue, and it had built-support for Apple Home, even though it never got HomeKit Secure Video, which was promised. Otherwise, it was at least as good as the Ring doorbell, with motion sensor, IR-based night light, good picture quality, and it responded quickly. Unfortunately, it was unstable in staying connected, and Netatmo has admitted that it did not work optimally with mesh WiFi networks.
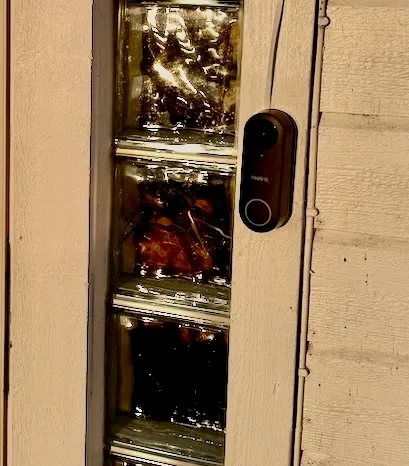
We now therefor have a Reolink D340P Doorbell PoE, see picture below. This gets both power and network via an ethernet cable, so neither charging nor coverage are issues. On the other hand, it does not have native support for Apple Home, but just like the UniFi camera described above, it works excellently using Scrypted. This way, it works 100% as if it had such support, including HomeKit Secure Video, and on most parameters it is better than its predecessors from Ring and Netatmo.
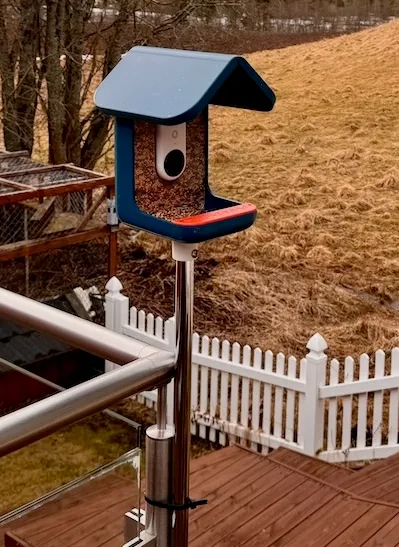
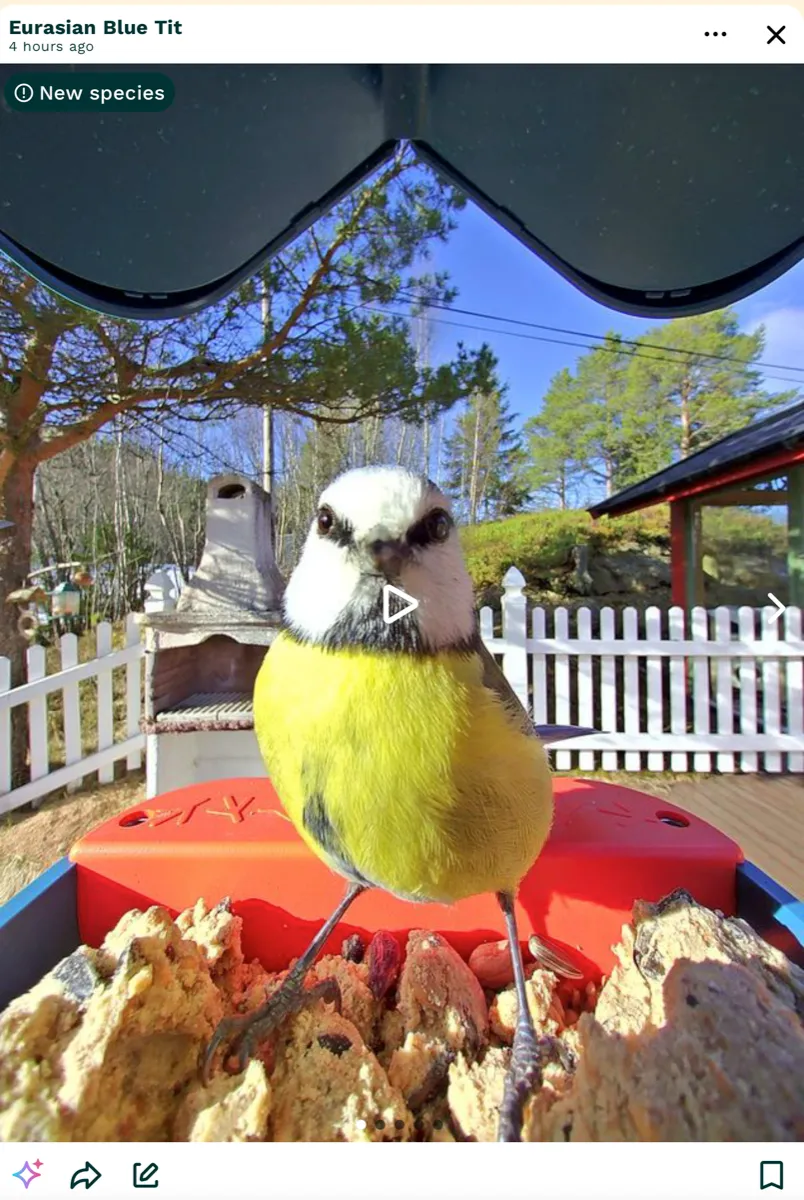
We live next to wooded areas and get lots of birds visiting us for food. To be able to even better understand which birds come to our property, we acquired a Bird Buddy smart bird feeder with camera, see picture below. The camera takes video/pictures of good quality, see example below. It is, however, not the most responsive camera we have, it can take quite a long time to set up the live video stream from the camera.
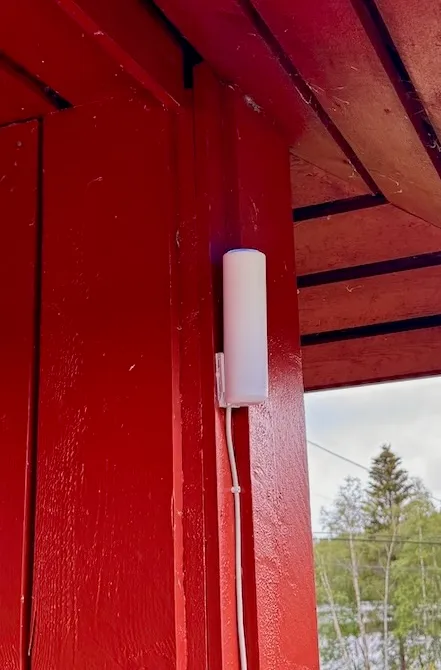
To improve the WiFi coverage in the garden, garage, and sheds, an access point has been installed outdoor, of the type UniFi U6 Mesh access point, see picture below, which is designed for outdoor use.
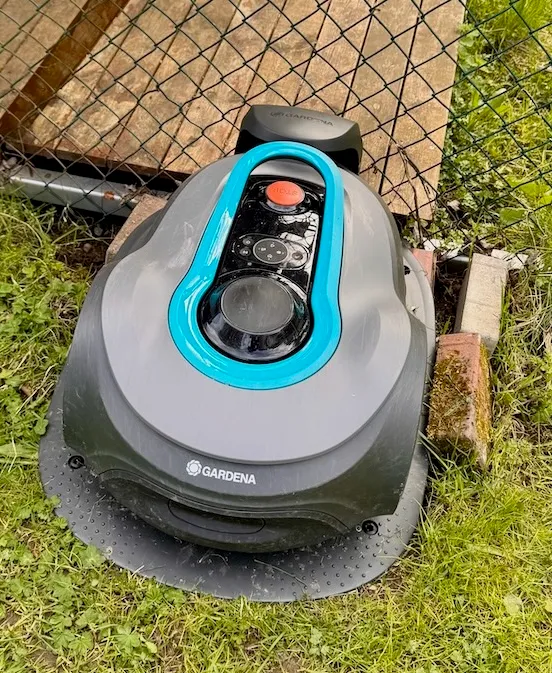
After having had a “dumb” robot lawn mower for some years, we got tired of the having to reinstall the connectors on the guide wires every spring due to degradation during the winter. We therefore made an upgrade to a GPS-controlled mower, a Gardena Smart mower, see picture below. An extra bonus of the upgrade is that this mower can also be controlled from a phone/tablet since it is connected to a smart hub (which is located in the basement living room). After setup and programming, there is not much need for app control, as it mostly just works according to the defined schedule, but at least it is possible to start it manually and it issues warning if it gets into any trouble (sadly, GPS control still seems a little immature, as it fairly often just stops and is confused about where it is).
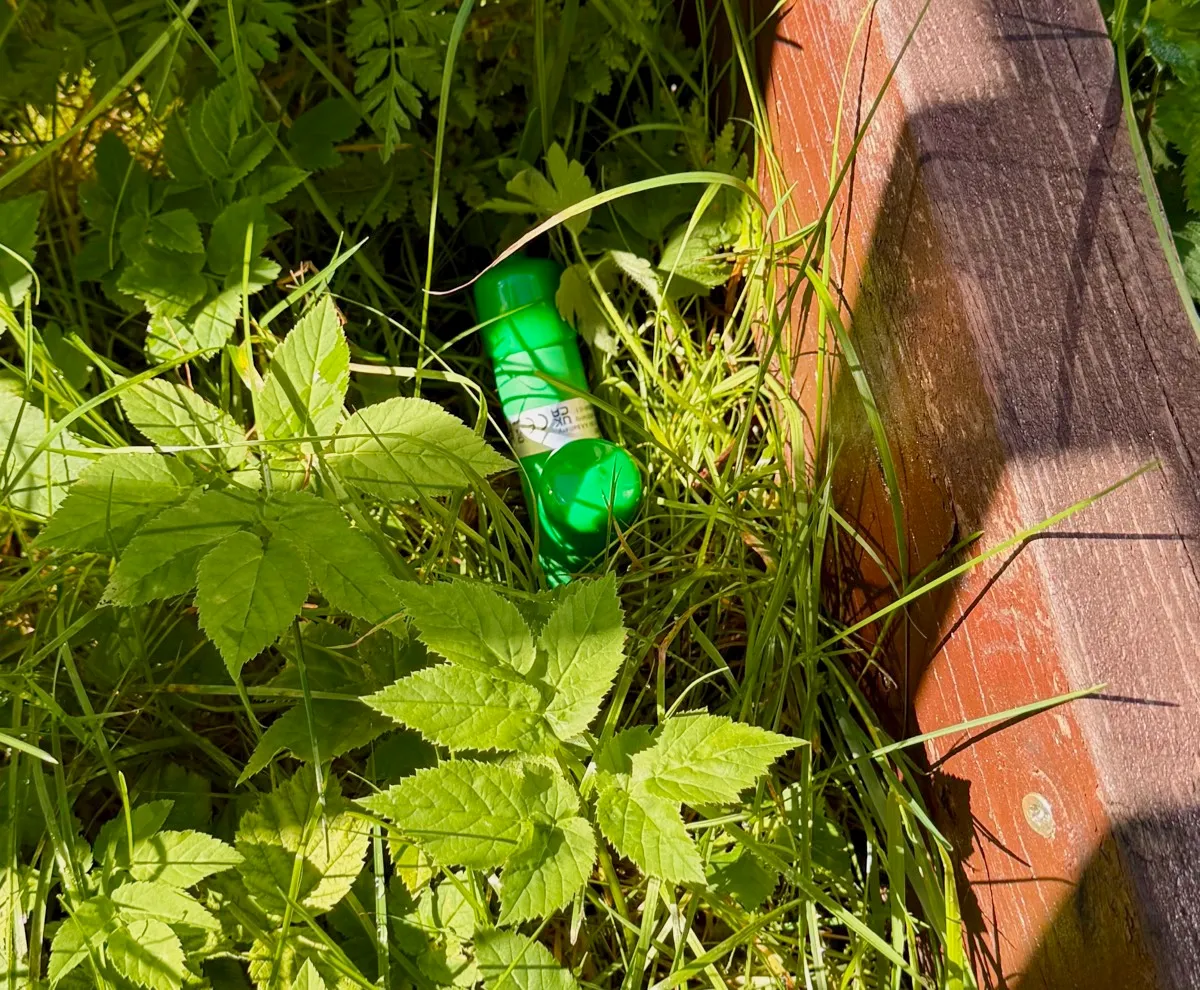
Another challenge with this mower is rain and a resulting wet lawn. The Gardena app has a setting to gather weather information and avoid mowing in rain, but this works very poorly; it runs around no matter how much it rains. On wet days, it more easily gets stuck or creates muddy tracks in the grass. Forunately, the mower can be integrated into Assistant, and we have also installed an Ecowitt sensor that measures soil moisture, see picture below. Based on this, a routine runs the mower every other day for three hours, unless it rains (this data is collected from the Ecowitt weather station) or the soil moisture is above a set limit. The mower is also sent home if it starts raining during mowing.
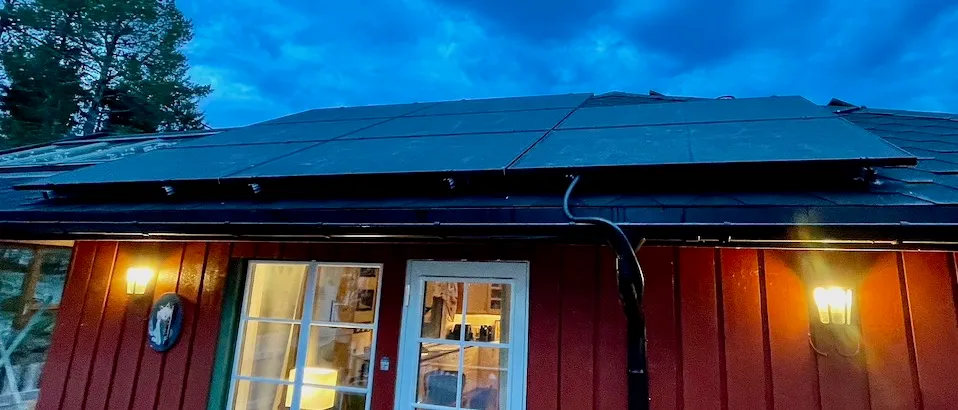
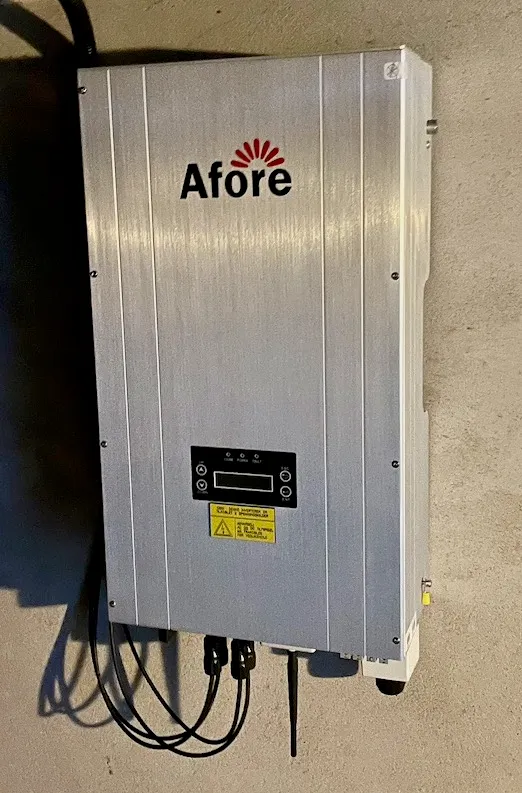
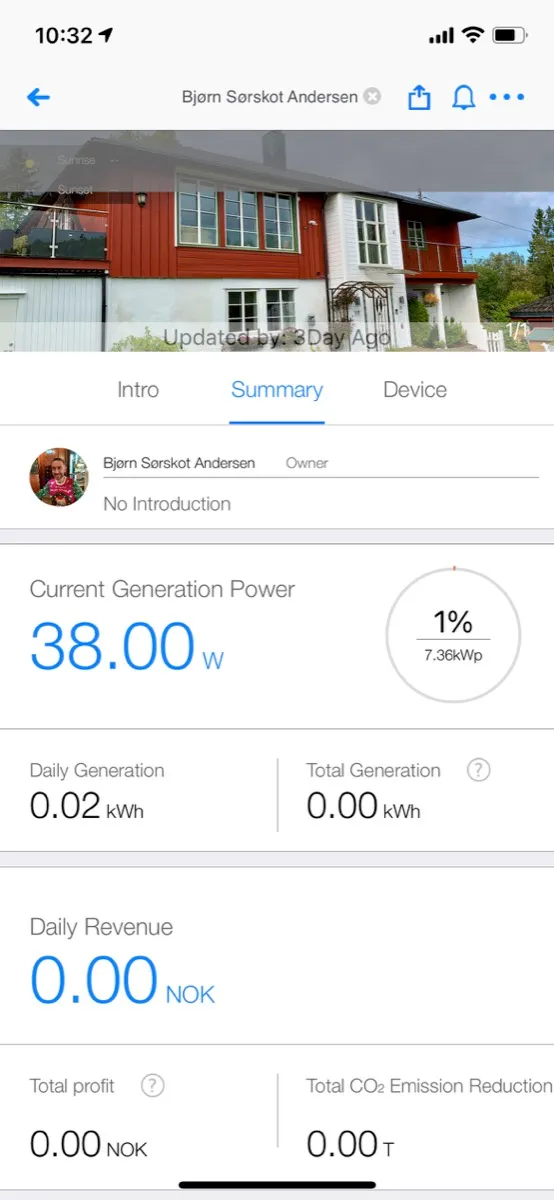
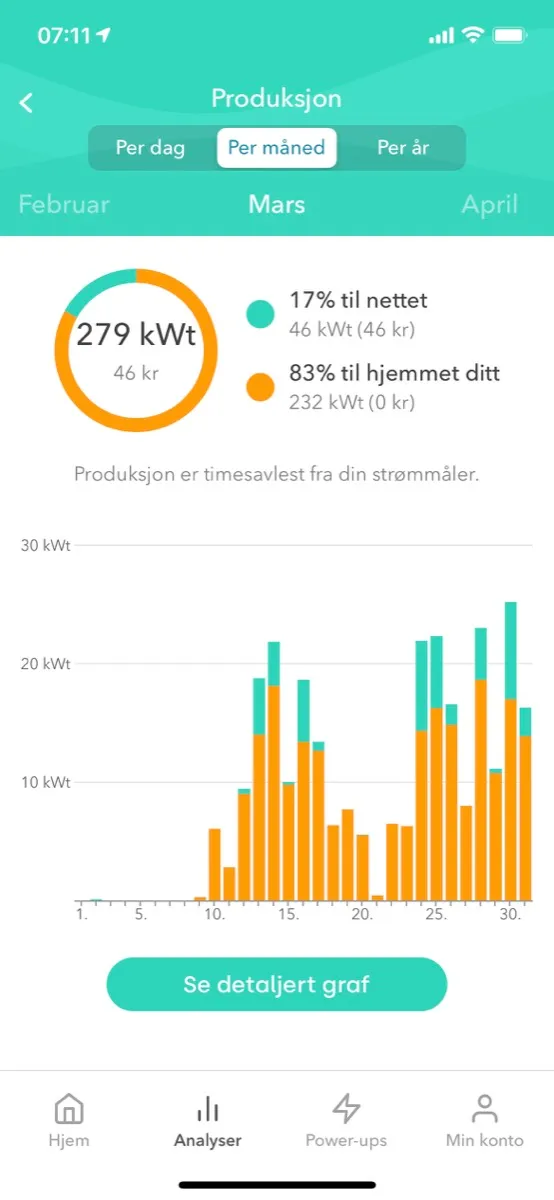
One can always discuss whether this has much to do with smart homes, but just before Christmas 2020 we had a solar power system installed to produce our own electric power, see pictures below. This naturally includes a number of solar panels, but also an inverter, and this is online. In our case an inverter of the brand Afore (opens in a new window) was installed, which there is support for by Tibber, and which can be accessed using a Solarman app. Here we can see information about how much power is being produced at any given time and historic production data, see screenshot below, while in Tibber we can see how much of the power produced goes to our house versus out into the grid. Since Tibber has integration with Homey it is also possible to see create routines where devices requiring much power are only turned on when the price of power is low or vi produce power ourselves, but we have so far not done this - this will be more relevant when we get an electric car.
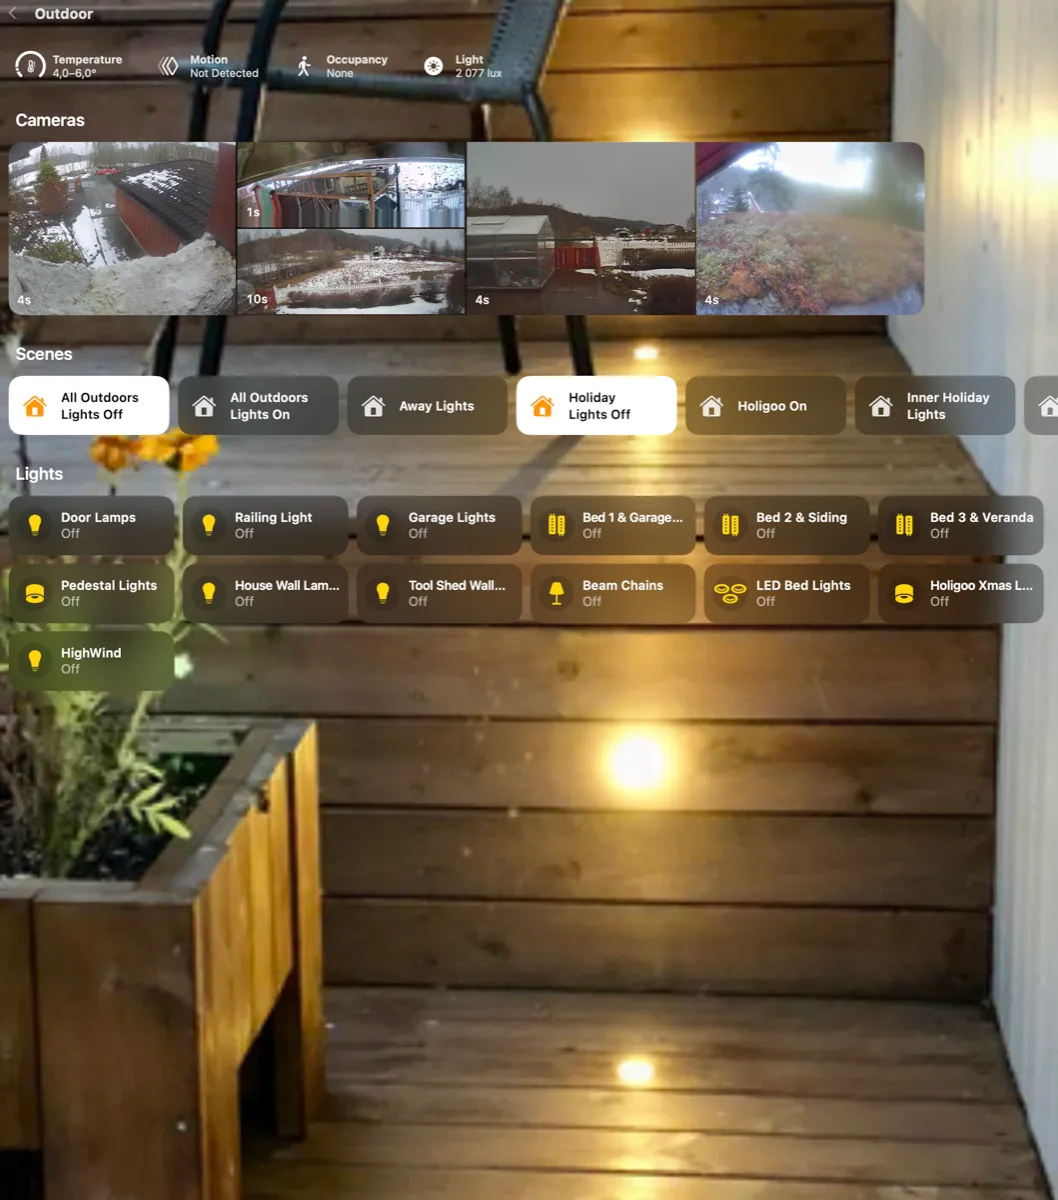
For a “room view” in the Home app of the installed solutions, see screenshot below.