Bathroom Upstairs
This room contains solutions for the following systems (notice that on phones, the table might only be displayed in landscape mode):
| System Type | Components |
|---|---|
| Lighting |
|
| Climate Control |
|
| Personal care and health |
|
| Home Entertainment |
|
| Pet Care | None |
| Control and Automation | None |
Description of the solutions in this room
This is the bathroom in daily use and was until recently not very well equipped, but I have gradually found working solutions for some things that required some investigation. The integrated LED lights in the bathroom unit could not be replaced by smart versions, but eventually usable solutions have been launched. Loevschall offers a broad range of lighting solutions and we have installed a Multiwhite driver, which controls a set of compatible recessed spots, see picture below. The driver is based on WiFi and Tuya, and integrated into Apple Home via Home Assistant (the driver is connected to power using an IKEA smart plug since it can be prone to losing connection and must be restarted).
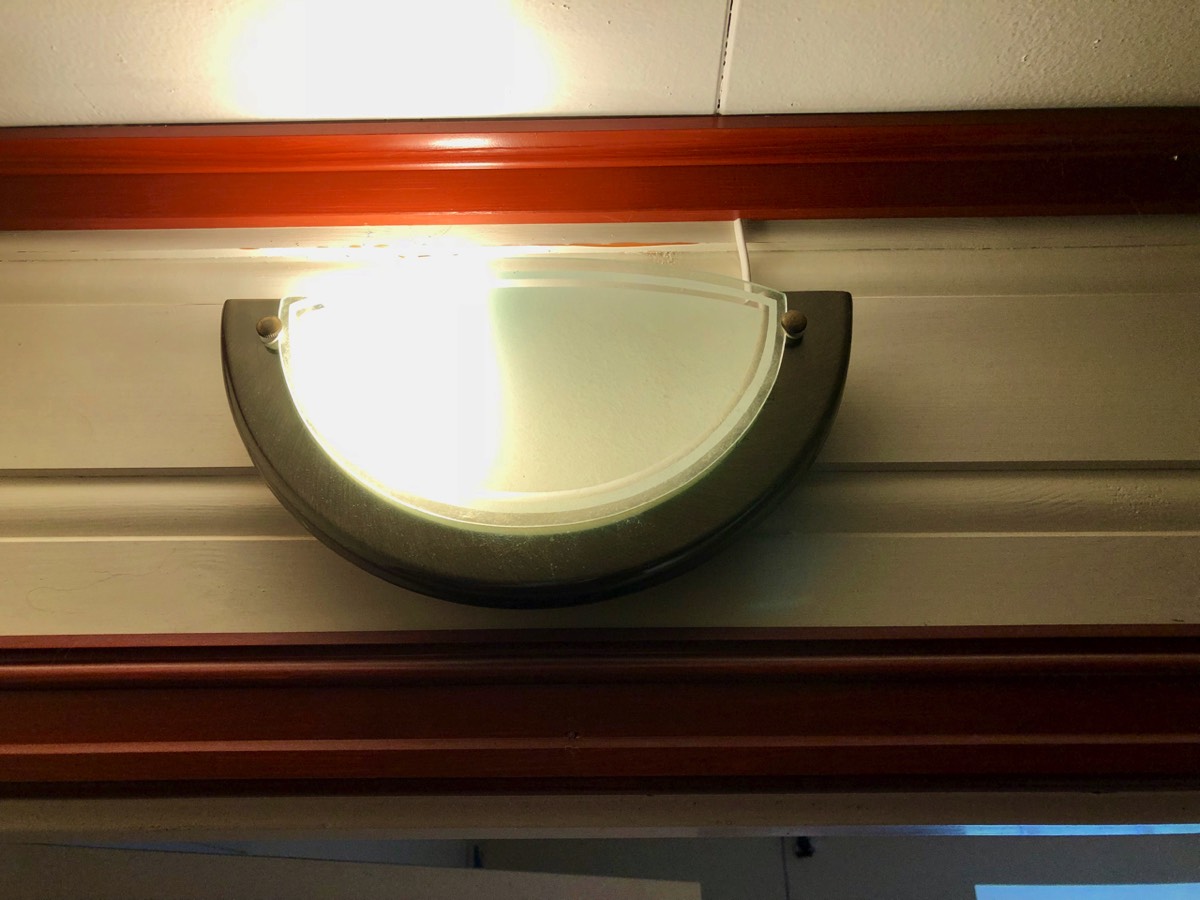
The other light in the room is a wall lamp which uses bulbs with E27 socket. The bulb of the wall lamp was replaced with an Philips Hue smart E27 version, this one with colors, which is utilized for night light.
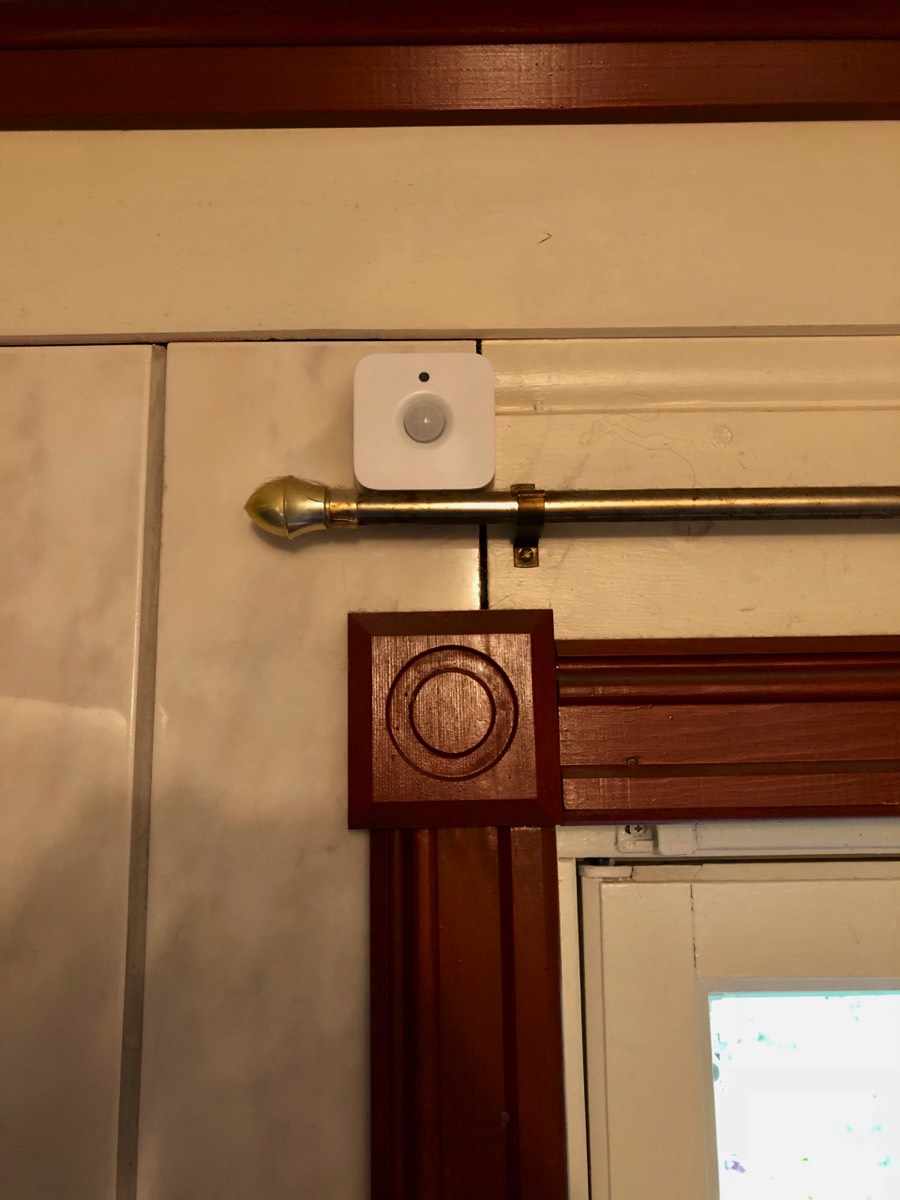
A Philips Hue motion sensor was installed facing the door, see picture below, and controls the lights.
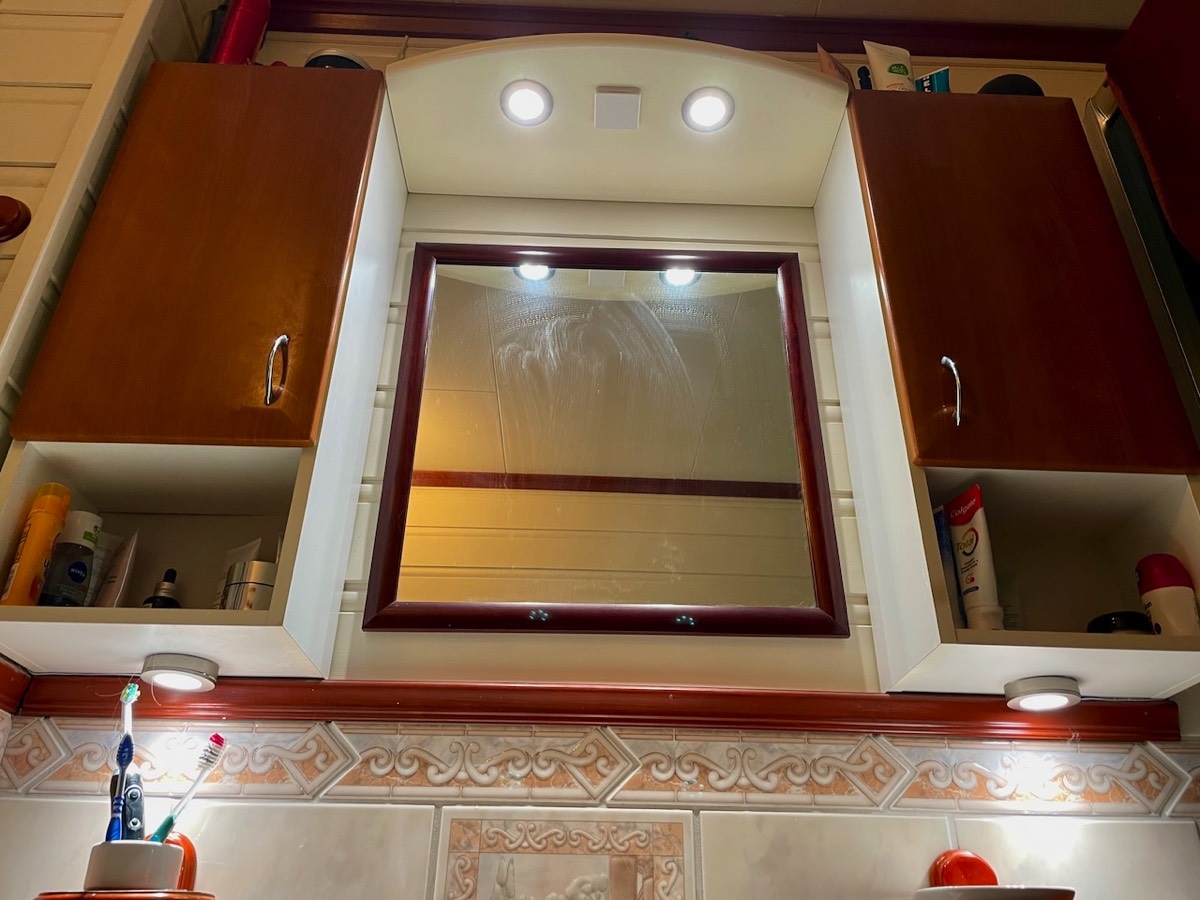
Loevschall LED lights over the mirror and underneath the cabinets connected to a driver hidden on the shelf and wall lamp with Hue bulb, and Hue motion sensor easily mounted to face the door
These components have been programmed as followed, using Home Assistant, since this gives the most room for creating advanced routines:
If the motion sensor detects motion and the light in the adjoining room, the library, is off, which means we have gone to bed, the wall lamp in the bathroom is turned on at 3% brightness and with red color as a night light
If the light in the library is on, however, meaning we haven’t yet retired for the night, both bathroom lights are turned on at full brightness as soon as someone enters the room
In both cases, the light turns off automatically, at night after 5 minutes and during daytime after 10 minutes
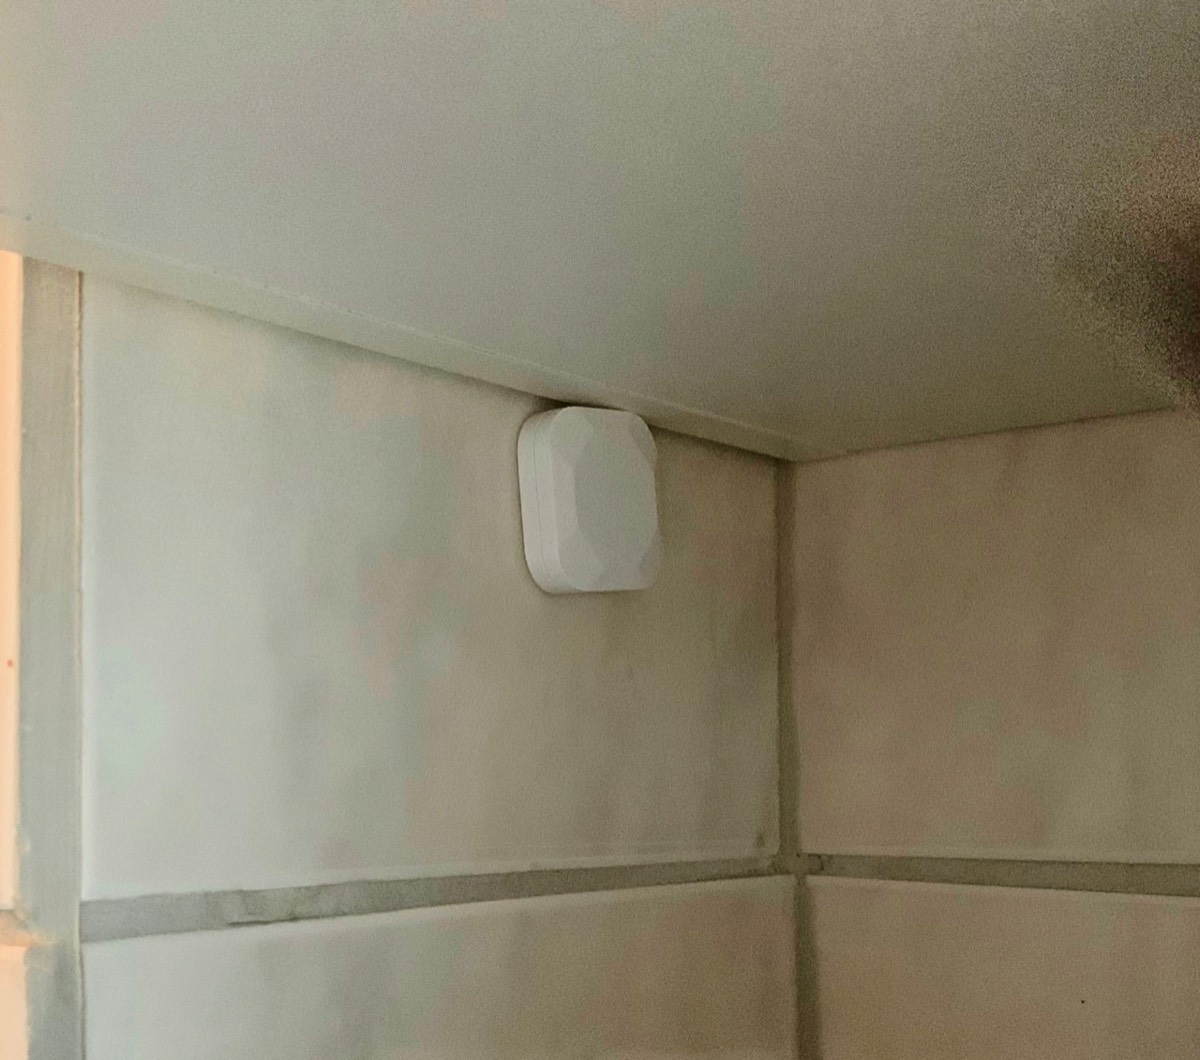
But during the day, the routine to turn off the light automatically has been set up with a condition that the shower door is open (which is checked using the Aqara door sensor installed on the shower door, see picture below). This is because the motion sensor does not always register people in the shower and this way we don’t have to wave our arms over the edge of the shower to turn the light on again
Aqara door sensor installed on the shower door

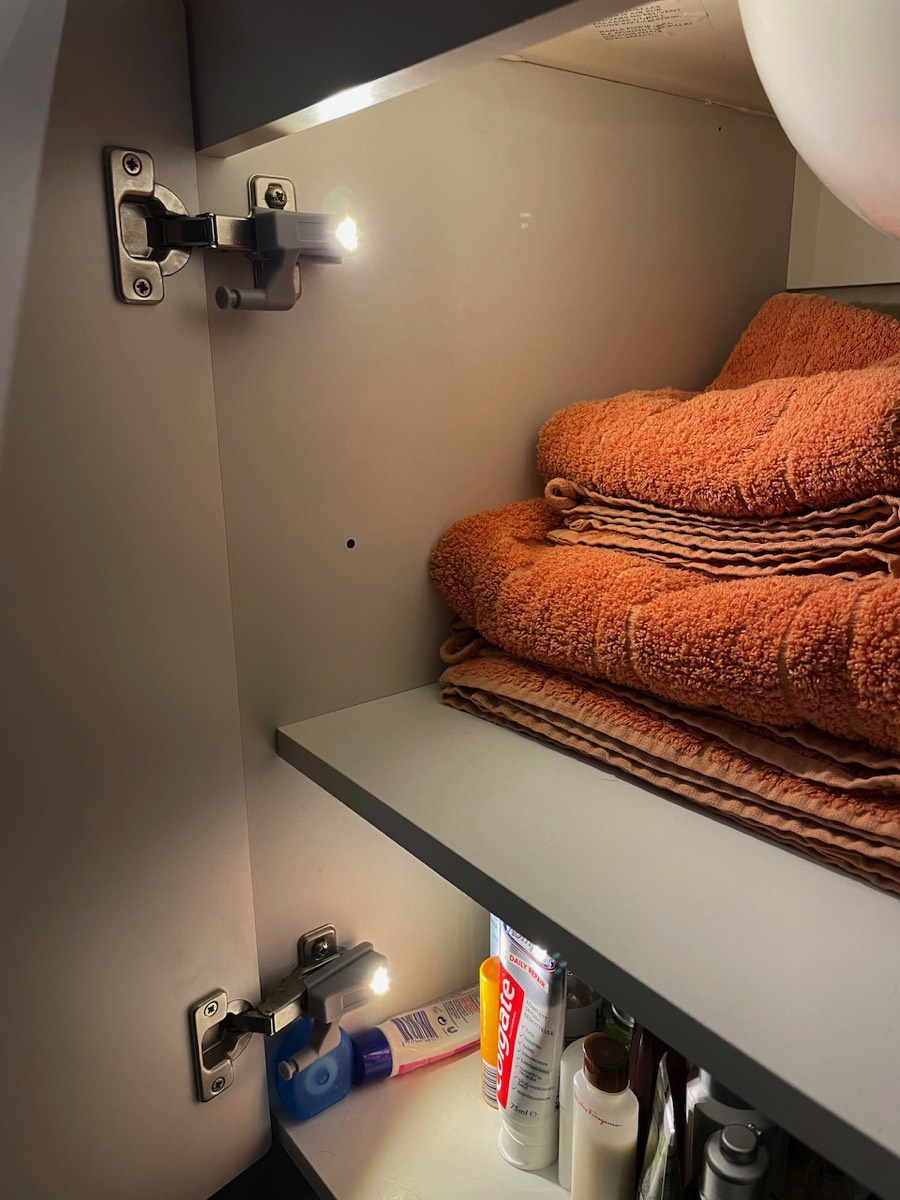
There is strictly speaking nothing “smart” about this, but a rather elegant lighting solution is a simple LED light that is installed on the hinges of closet doors, see picture below. The lights turn on/off when you open/close the doors.
With cats who love sleeping on the bathroom tiles with their underfloor heating underneath, the night light prevents quite a few cases of stepping on/kicking sleeping cats during nightly visits to the bathroom.
When it comes to climate control, this bathroom has the same solution as the other rooms with underfloor heating, i.e., a Heatmiser neoStat-e thermostat. As for most of the other rooms with this solution, the thermostat is located on the wall outside the bathroom (see picture below), but this room does not have a separate floor sensor installed. This would make it unsuitable to use the thermostat’s own temperature sensor, but the Heatmiser thermostat allows selecting the source of temperature data. Thus, the temperature sensor that comes with the thermostat was run through the wall and into the bathroom and gives the thermostat its temperature readings. However, having the end of the sensor wire sticking out of the wall was not that elegant so when Heatmiser launched a wireless room sensor, this was purchased and installed. It should ideally be placed about 1.5 m above the floor, but after test measurements in different places, it turned out the temperature was just the same underneath the bathroom cabinet. Thus, I could hide it there, see picture below, and then link it to the desired thermostat in the Heatmiser app.

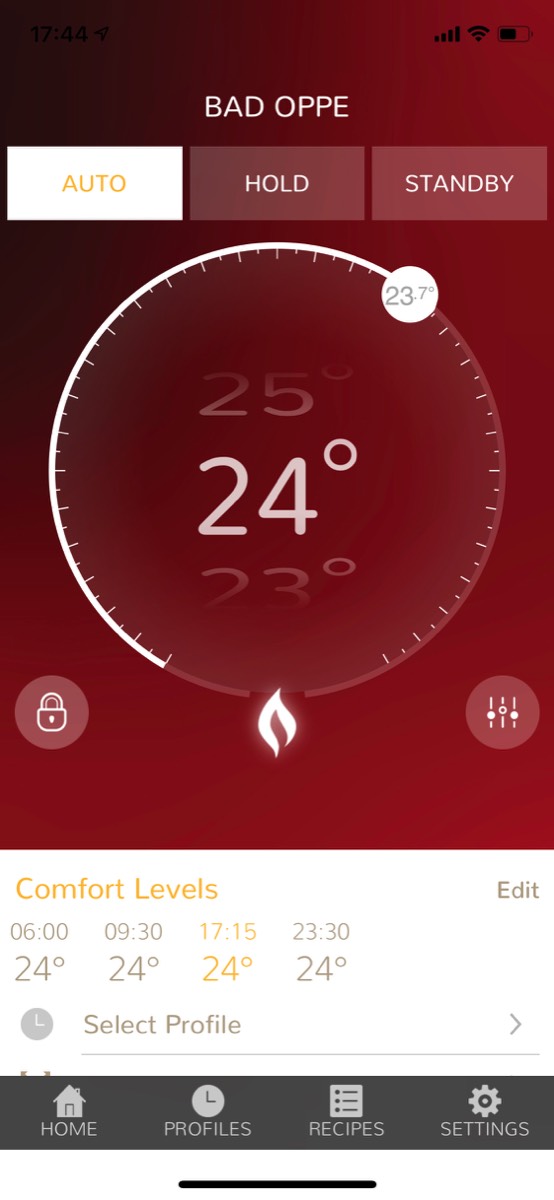
For the Heatmiser app the user interface is shown in the screenshot below. The only downside with this thermostat, which might be due to the use of the room sensor, is that the underfloor heating often is turned off completely. This naturally occurs mostly in the warmer seasons, but the floor tiles nonetheless can get quite cold; this could be avoided with the old thermostat, which could manually be set to a constantly heating at a low wattage.
The user interface of the Heatmiser app, where detailed temperature profiles can be set up for the 24-hour period and the week
After for a long time having been annoyed by towels that would never get completely dry between being used, we finally installed an electric towel rack. And now there are smart editions, and at first, we landed on one that builds on tuya, purchased via Aliexpress. After four weeks of use, it stopped working (and the seller won’t refund us, so make sure you consider whether sellers are serious before buying from Aliexpress), so it was removed. Instead, a “dumb” version was installed (it does have a timer function), see picture below, and to be able to control, if for example one has left home and forgot to turn off the dryer, it is connected via a smart plug from IKEA.

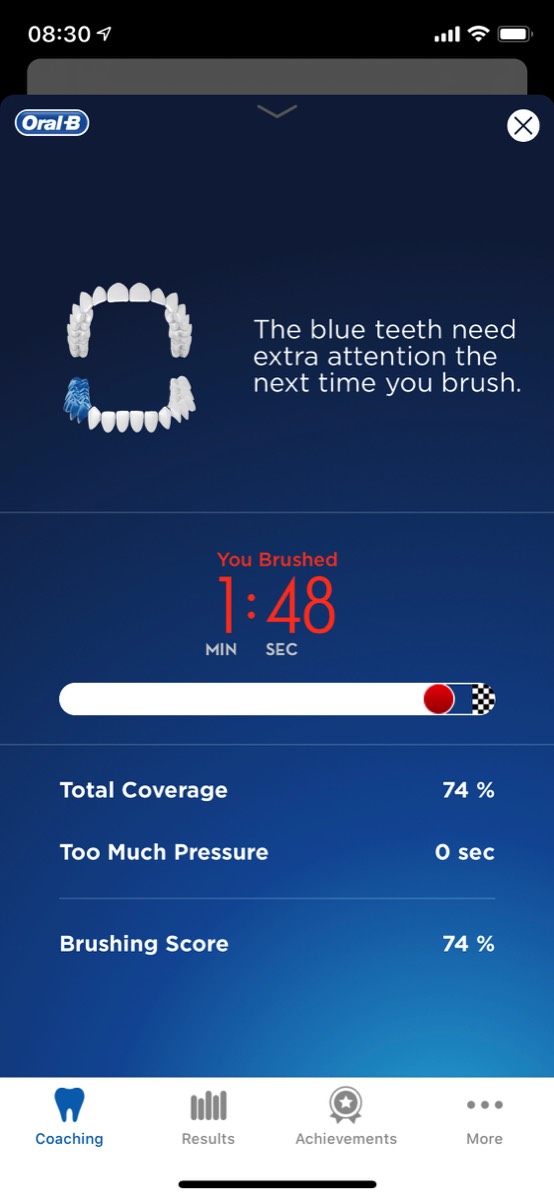
Logically enough, here in the bathroom is where we keep our Oral-B Genius X smart, electric toothbrush. We previously had a simpler, “non-smart” Oral-B brush (og fortunately the brush heads fit most models so the non-used ones could be used with the new model). The new, smart edition monitors the brushing to give advice about how to brush to clean the teeth in the best possible way. This is done by mounting a smart phone on a mirror, sink, etc. (see picture below of the mount together with the toothbrush) and standing in front of the phone while brushing so that the phone’s camera sees where you are brushing and for how long. The Oral-B app then shows how long you brushed, areas where you spent too little time (as the screenshot below shows), etc., and it can give you reminders about running various “brushing programs”, replace the brush head, etc.
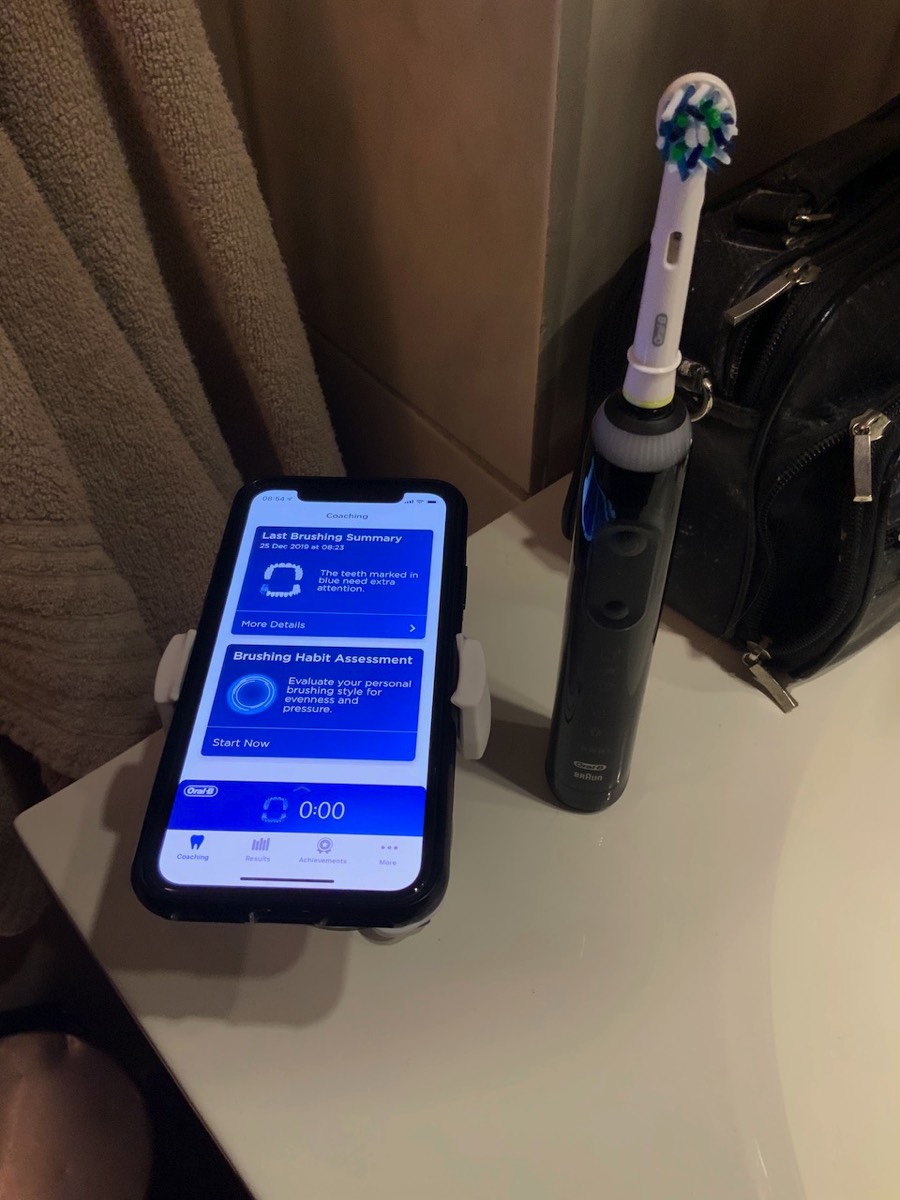
On the left, the Oral-B toothbrush and mount (which is mounted on the mirror above the sink when in use), on the right, screenshot from the Oral-B app showing details from the brushing session
Like our previous generation Oral-B toothbrush, this also does a very good job of cleaning, while the extra functionality you get through the app makes this a very good system. You get reminders and insight into areas where you brush poorly, the app contributes to making the brushing a “competition”, and for a smart home enthusiast, it is enjoyable to see that also this type of product can be made smart!
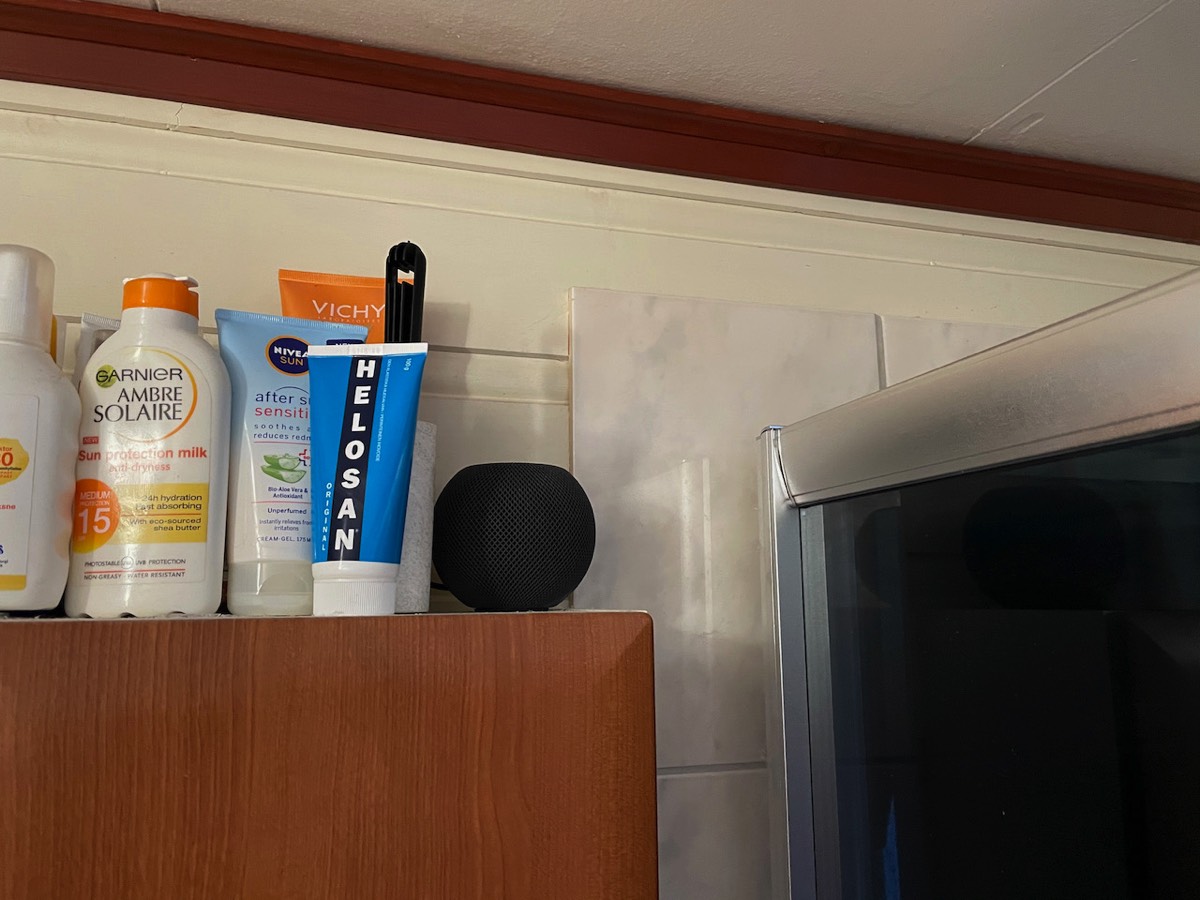
When a smaller version of Apple’s HomePod tas launched, we god one of these, see picture below. It serves both as a speaker for music and other entertainment in the bathroom, but is also a base station for Apple Home and the only one in the house that supports the new thread protocol. In the Home app, the devices are shown as in the screenshot below.
HomePod Mini